Category Archives: Cakes and Muffins

Devil’s Food Cake

Standard

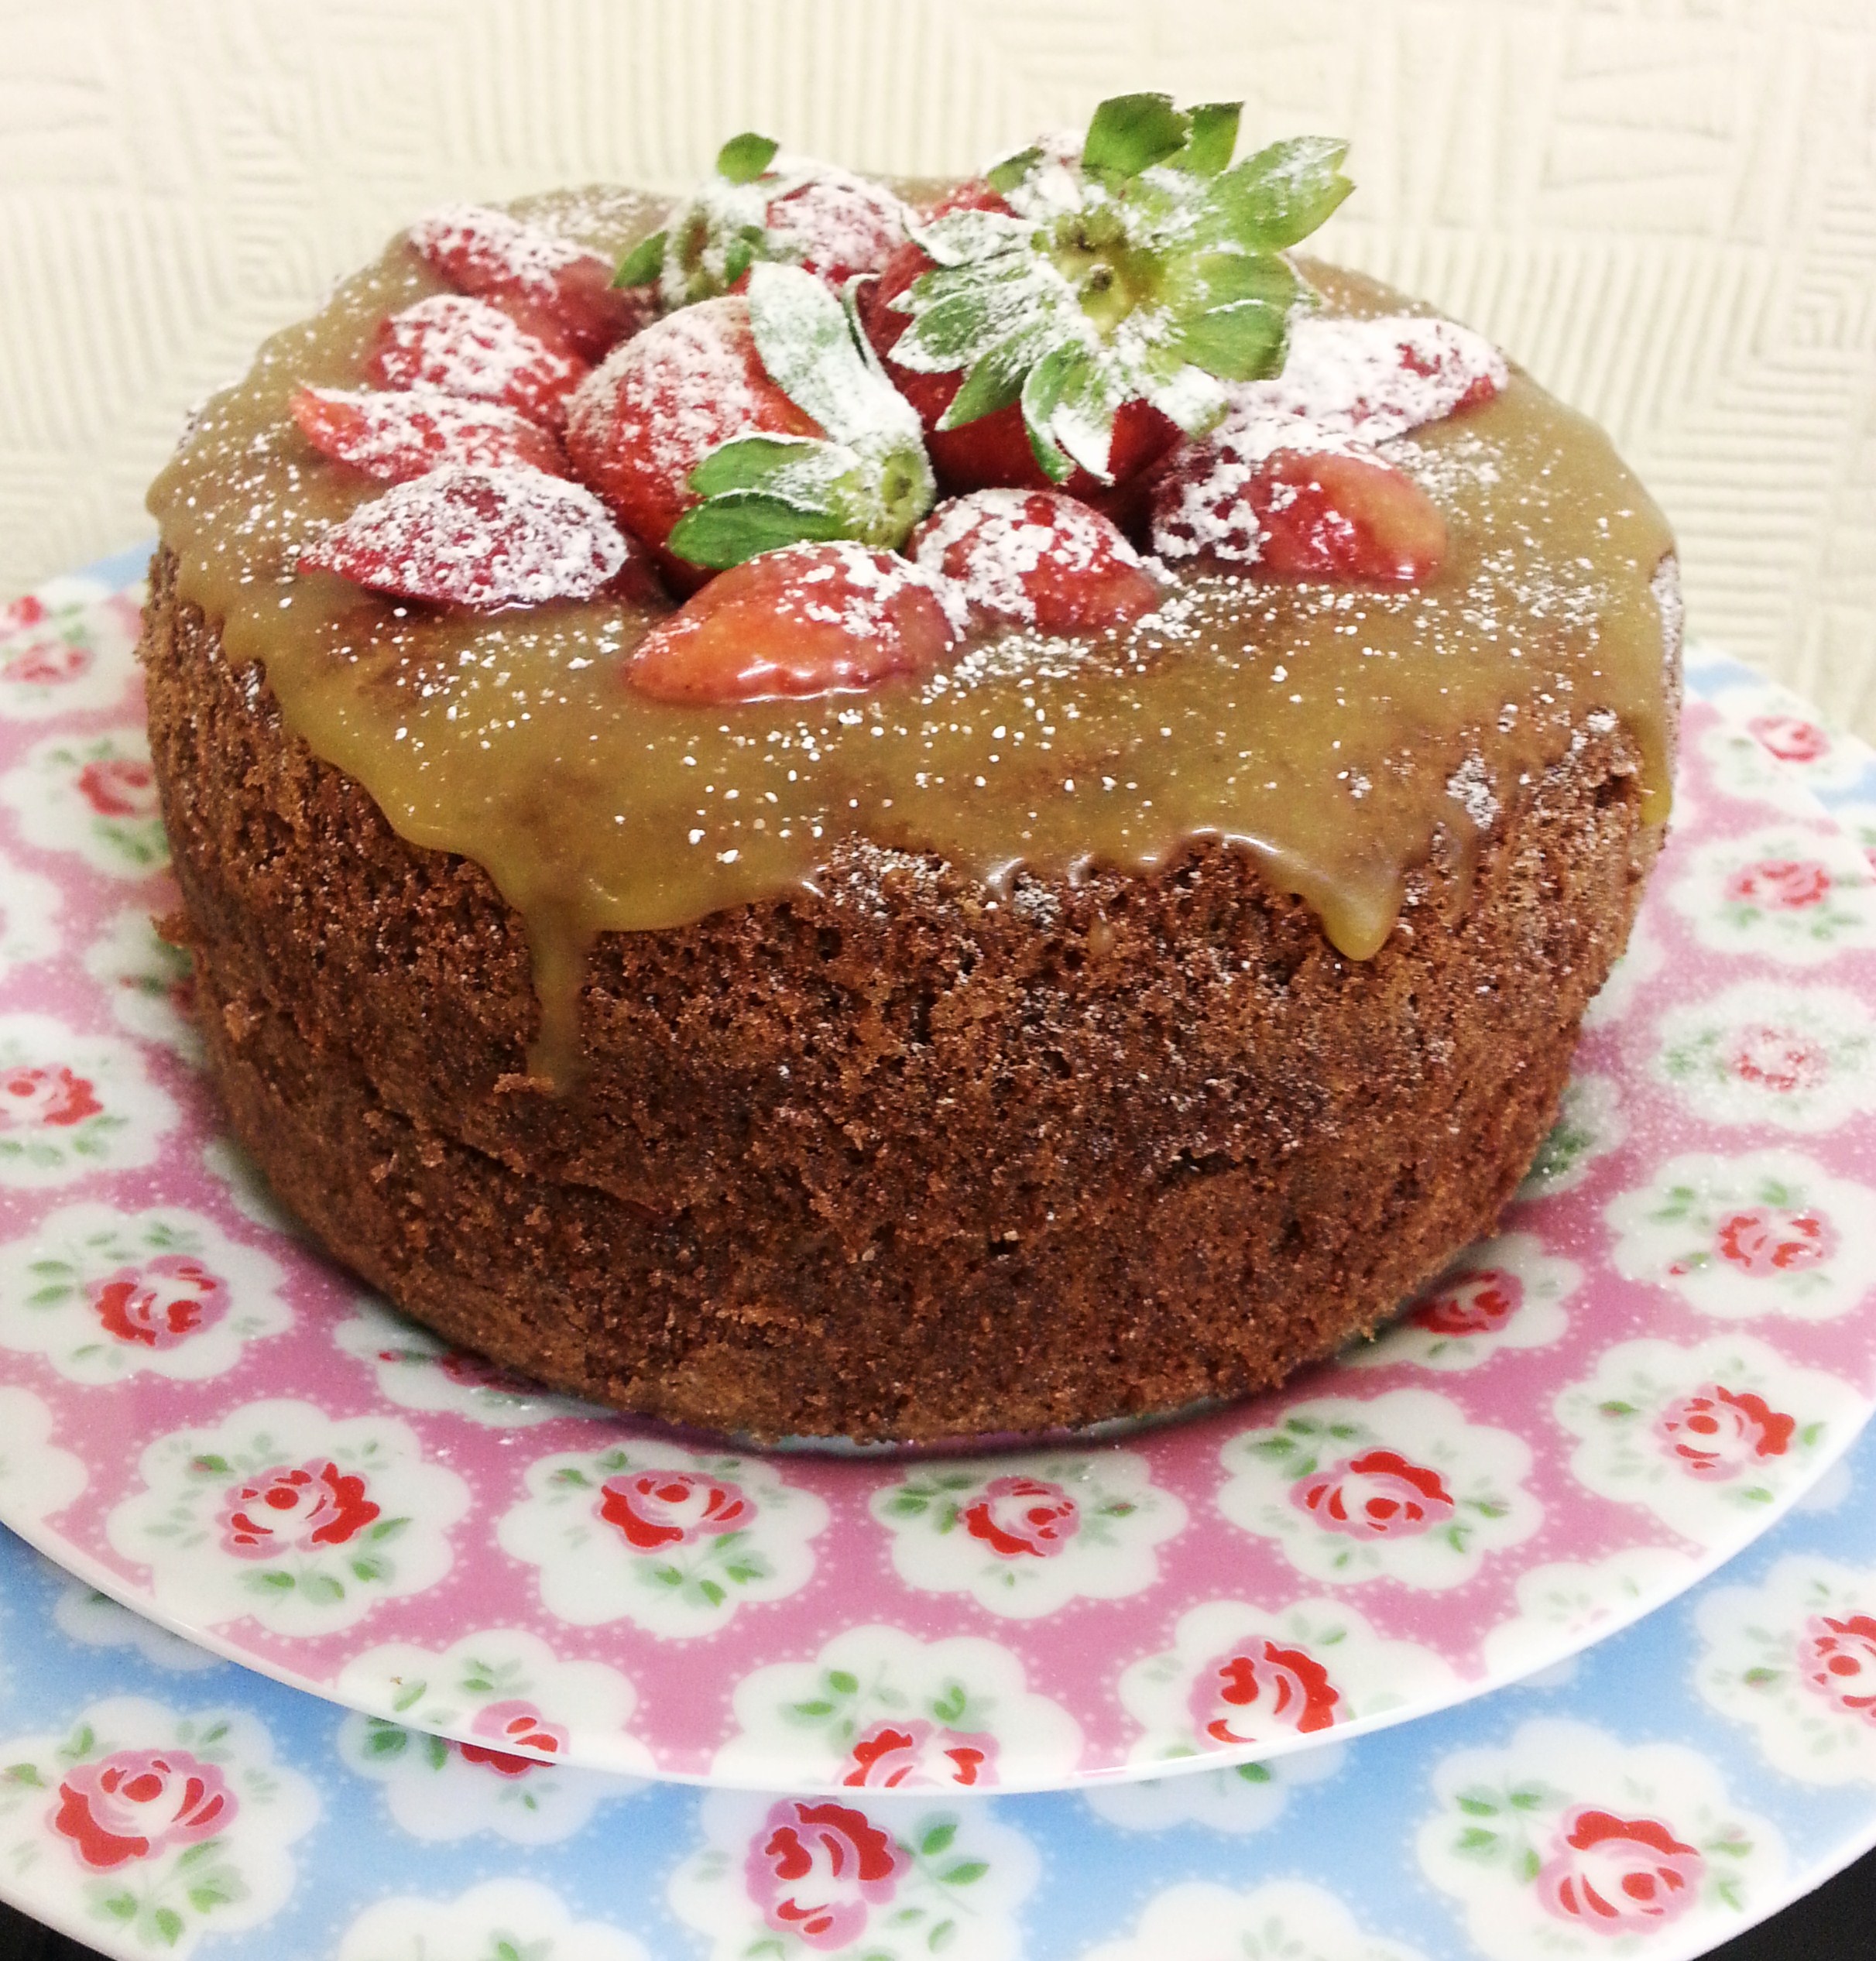
Chocolate cake. There are endless recipes, and endless varieties, all taste brilliant… After all, its chocolate, what’s not to love!

This recipe is adapted from Nigella Lawson, I made very minor changes depending on what I had or didn’t have. The result is still brilliant, quite spongy, quite moist. One of the changes I made in the frosting was that I didn’t use dark chocolate as I didn’t want it to be too bitter.

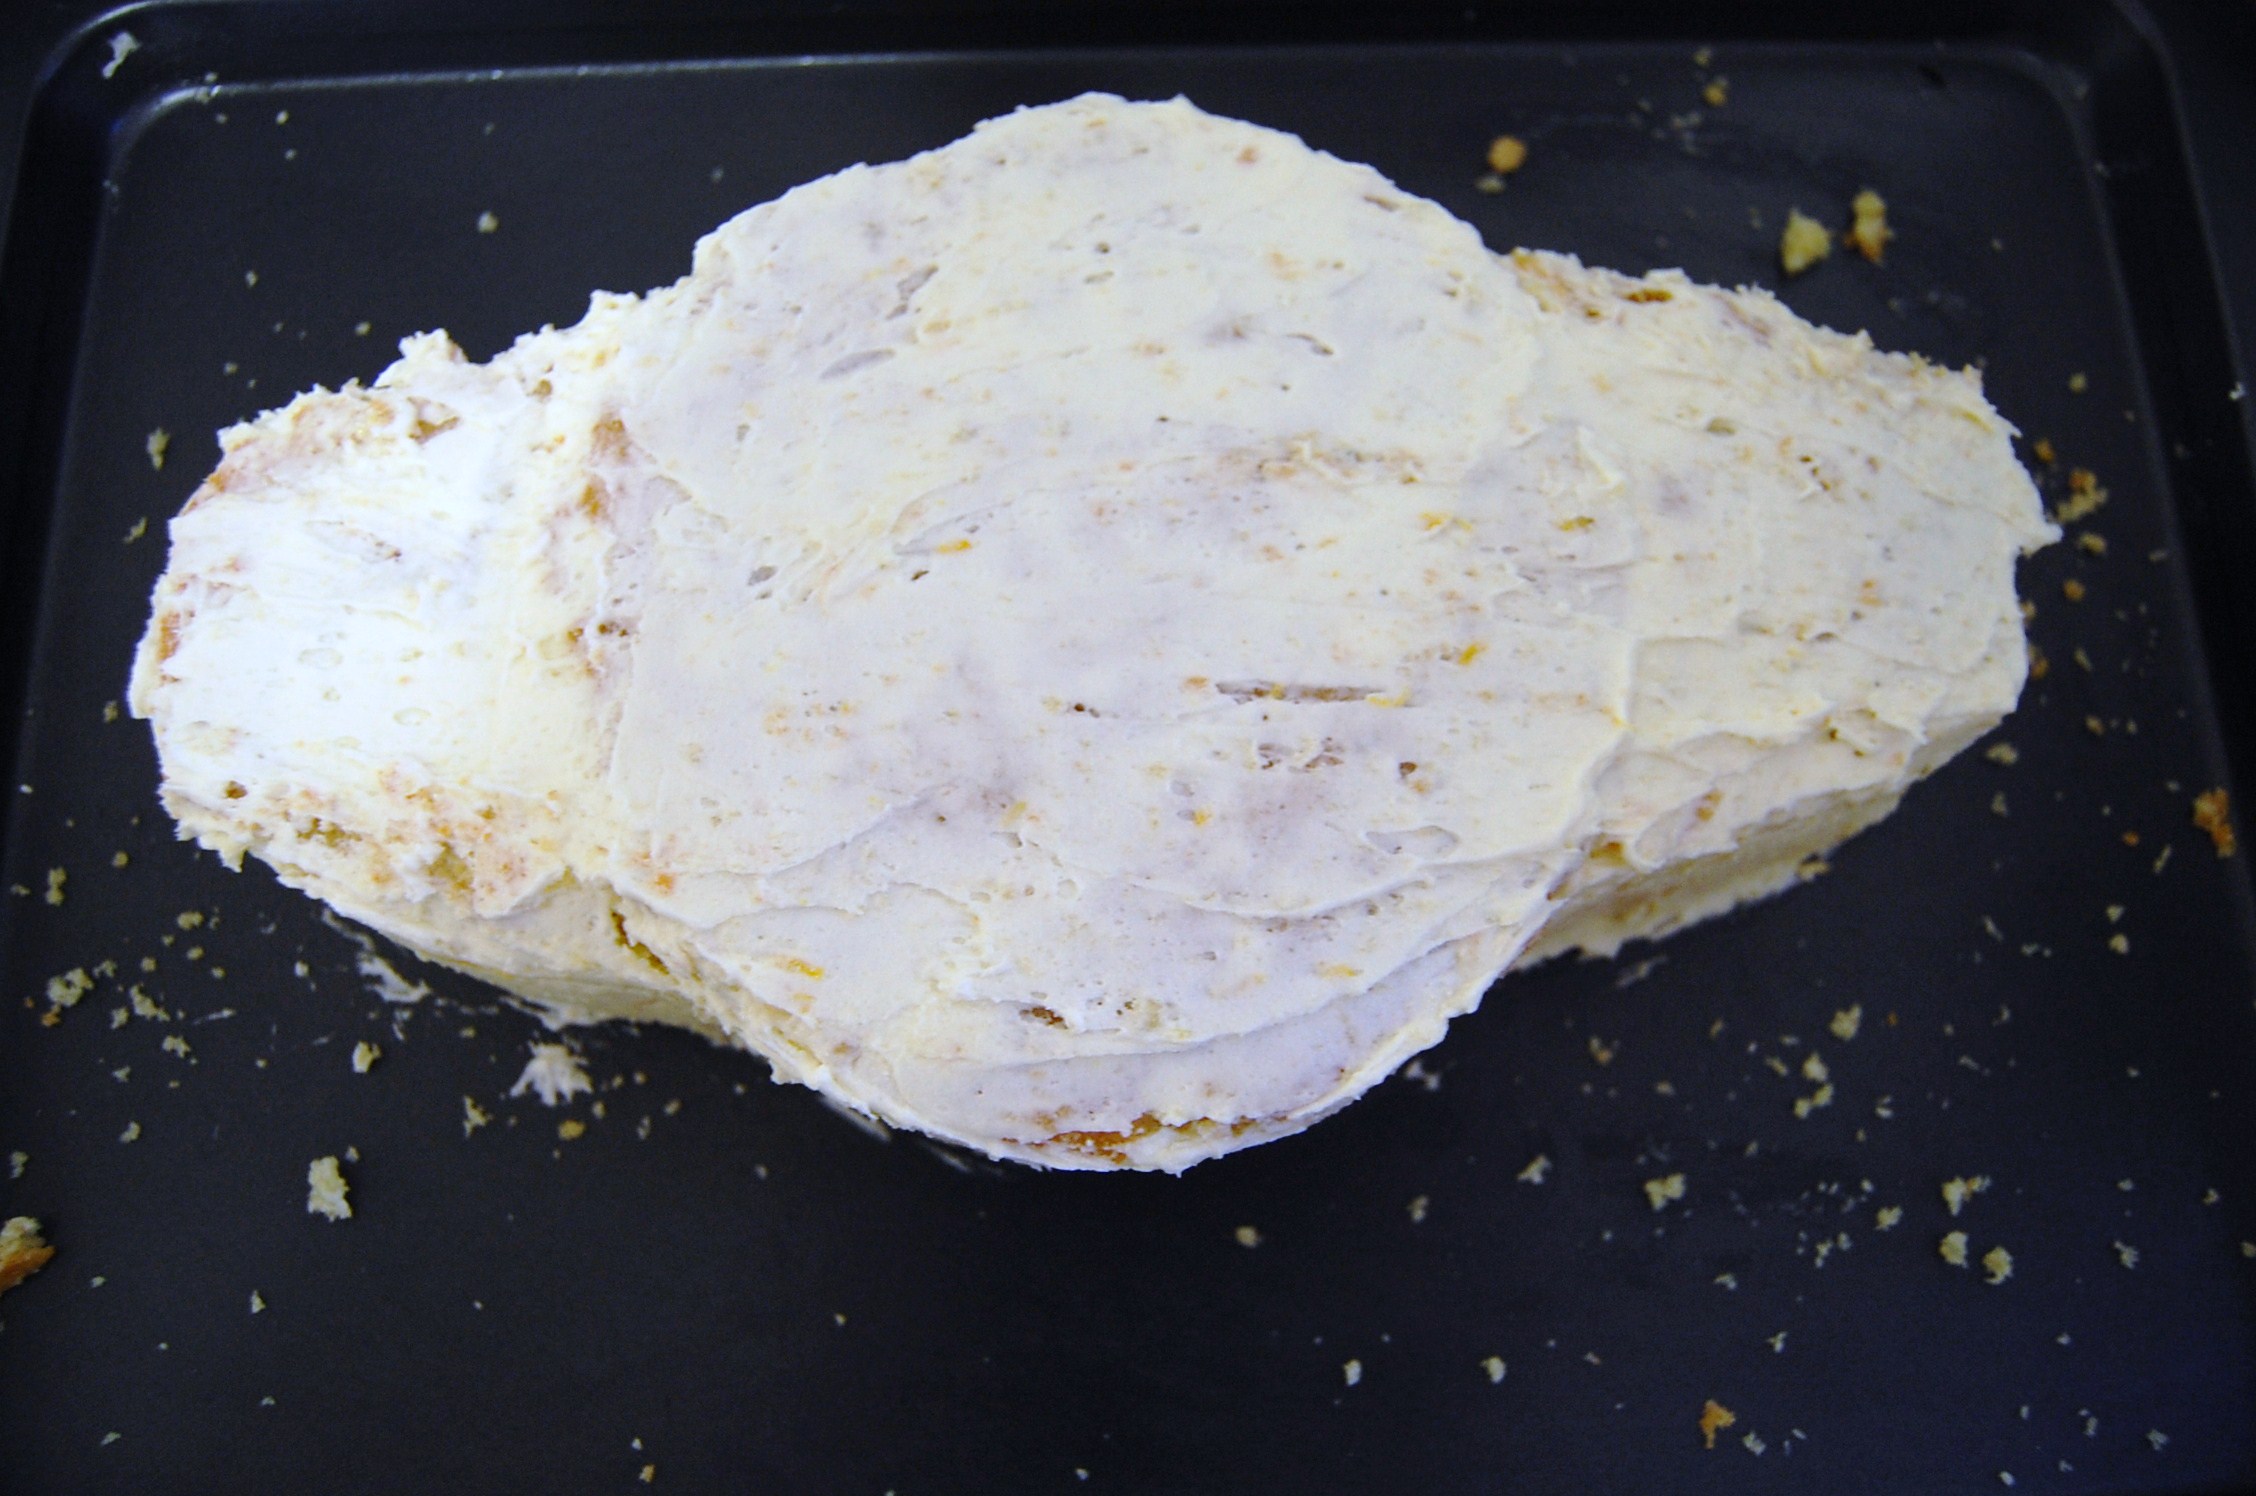
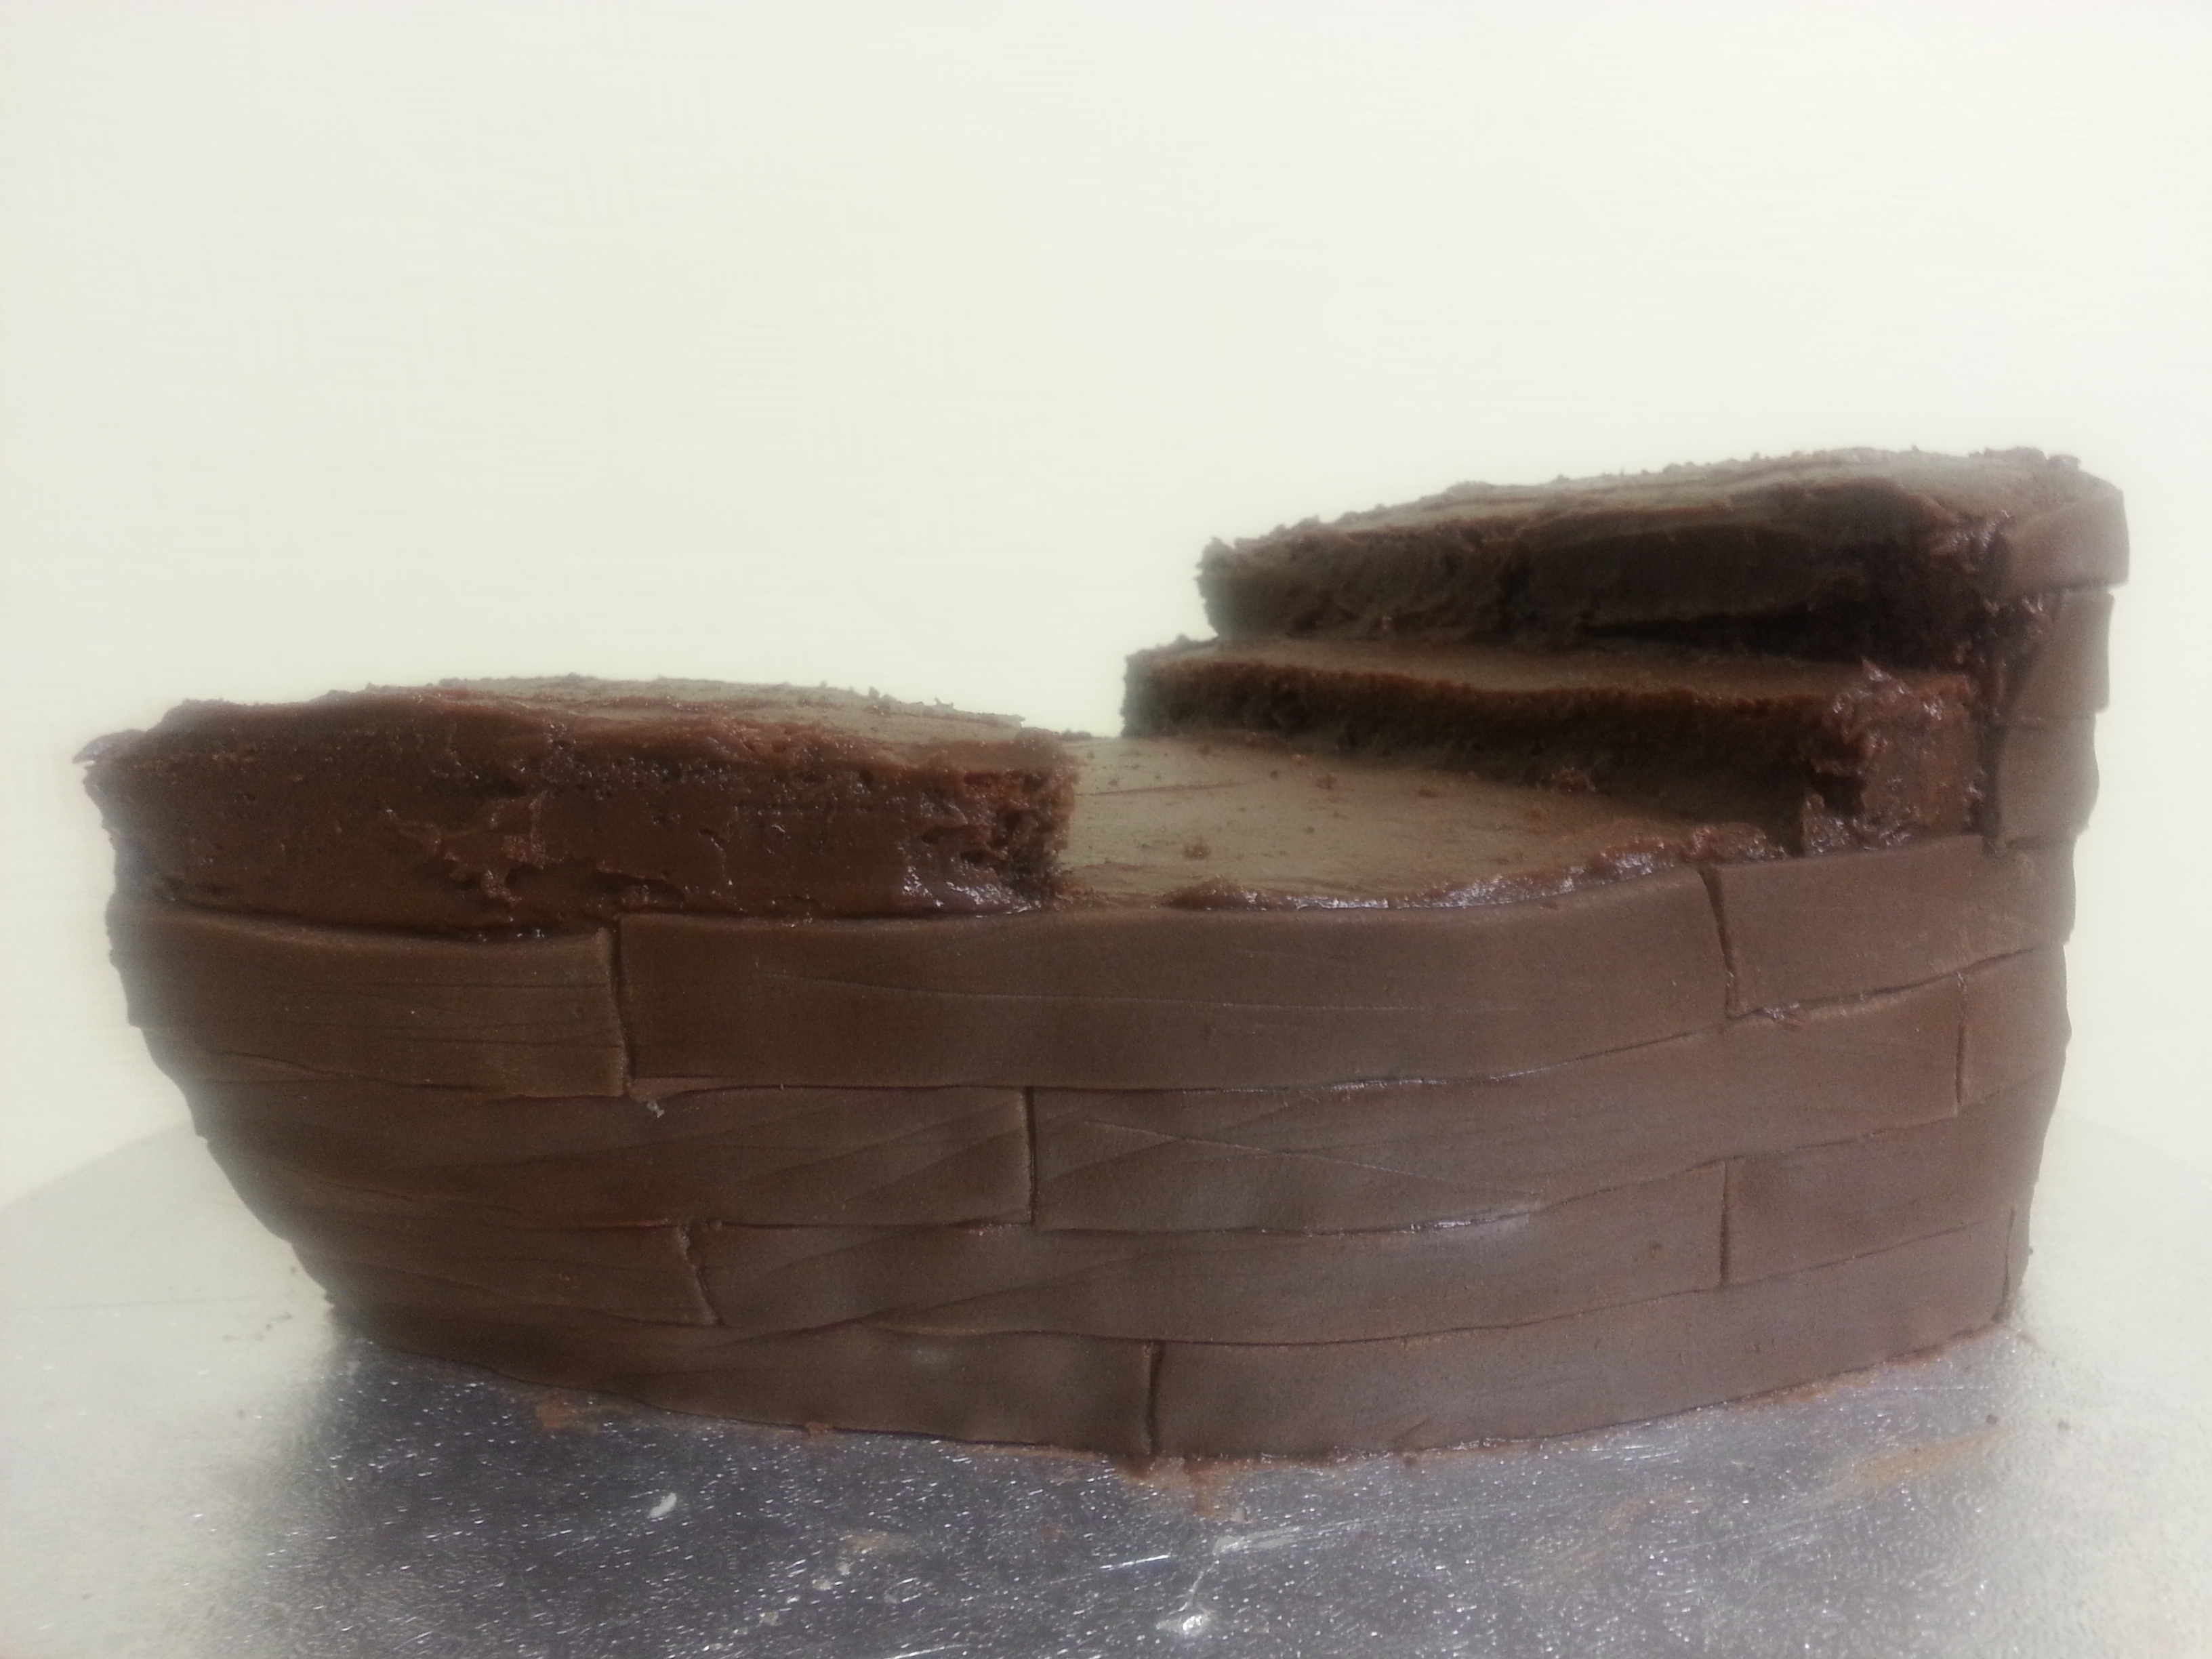
Another point to note is that the frosting will seem to be too runny to be used as a frosting. It will be runny for a long long time if you leave it at room temperature to firm up. So I put it in the freezer 🙂 15 minutes, and it was where I wanted it. Not runny at all, but not brick hard as well. Smooth to touch, but I was able to frost the cake quite smoothly with it as you can see.

upload3


Makes an 8″ cake.

Ingredients:

For the cake:

Cocoa powder – 50 grams
Dark brown sugar – 100 grams 
Boiling water – 250 ml 
Soft butter – 125 grams
Caster sugar – 150 grams 
Plain flour – 225 grams
Baking powder – ½ teaspoon 
Baking soda – ½ teaspoon
Vanilla extract – 2 teaspoons 
3 medium eggs

For the frosting:

Water – 125 ml
Dark brown sugar – 30 grams
Butter – 175 grams
Dark chocolate or Milk Chocolate (I used milk chocolate), broken into equal pieces – 300 grams

Method:

  1. Preheat oven to 180 degrees C. Prepare an 8″ pan or two 8″ sandwich pans.
  2. Mix together the dark brown sugar, cocoa powder and boiling water. Briskly stir to mix and set aside.
  3. Sift together the flour, baking powder and baking soda and set aside.
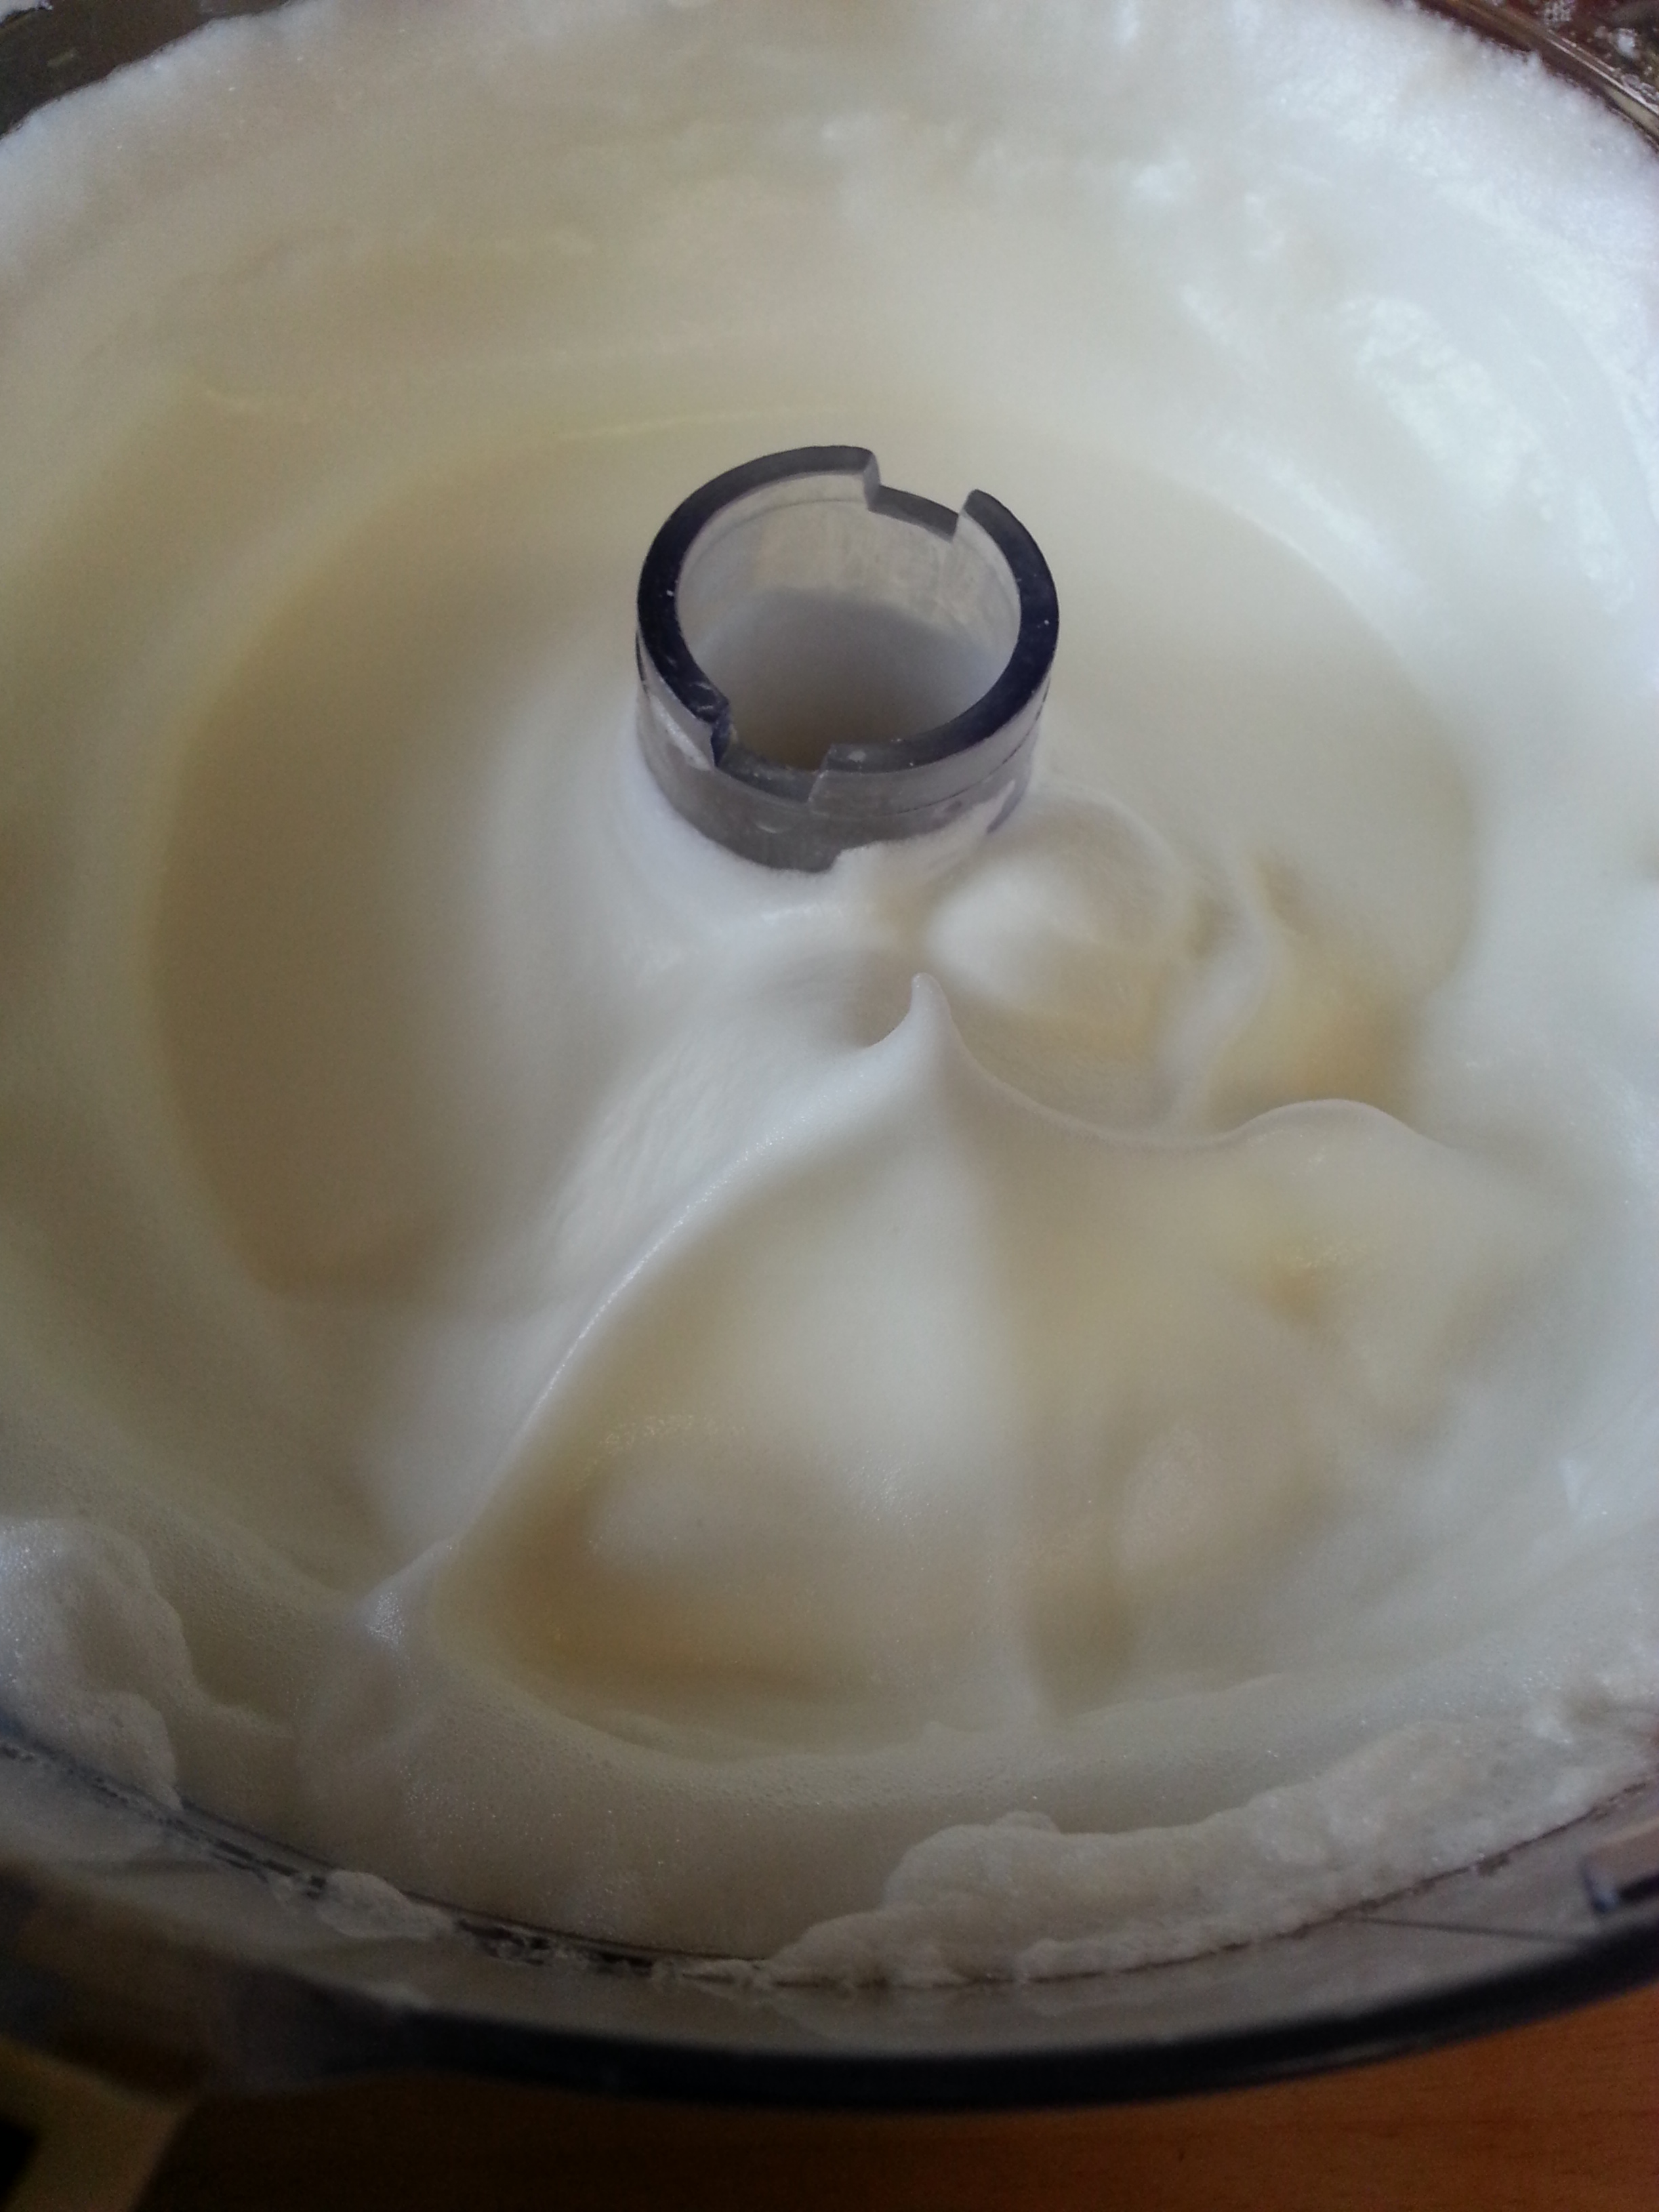
  4. Cream the caster sugar and butter until light and fluffy. Add the vanilla essence, and the eggs, one at a time. Keep whisking. Then add the sifted flour. The finally fold in the dark brown sugar mixture.
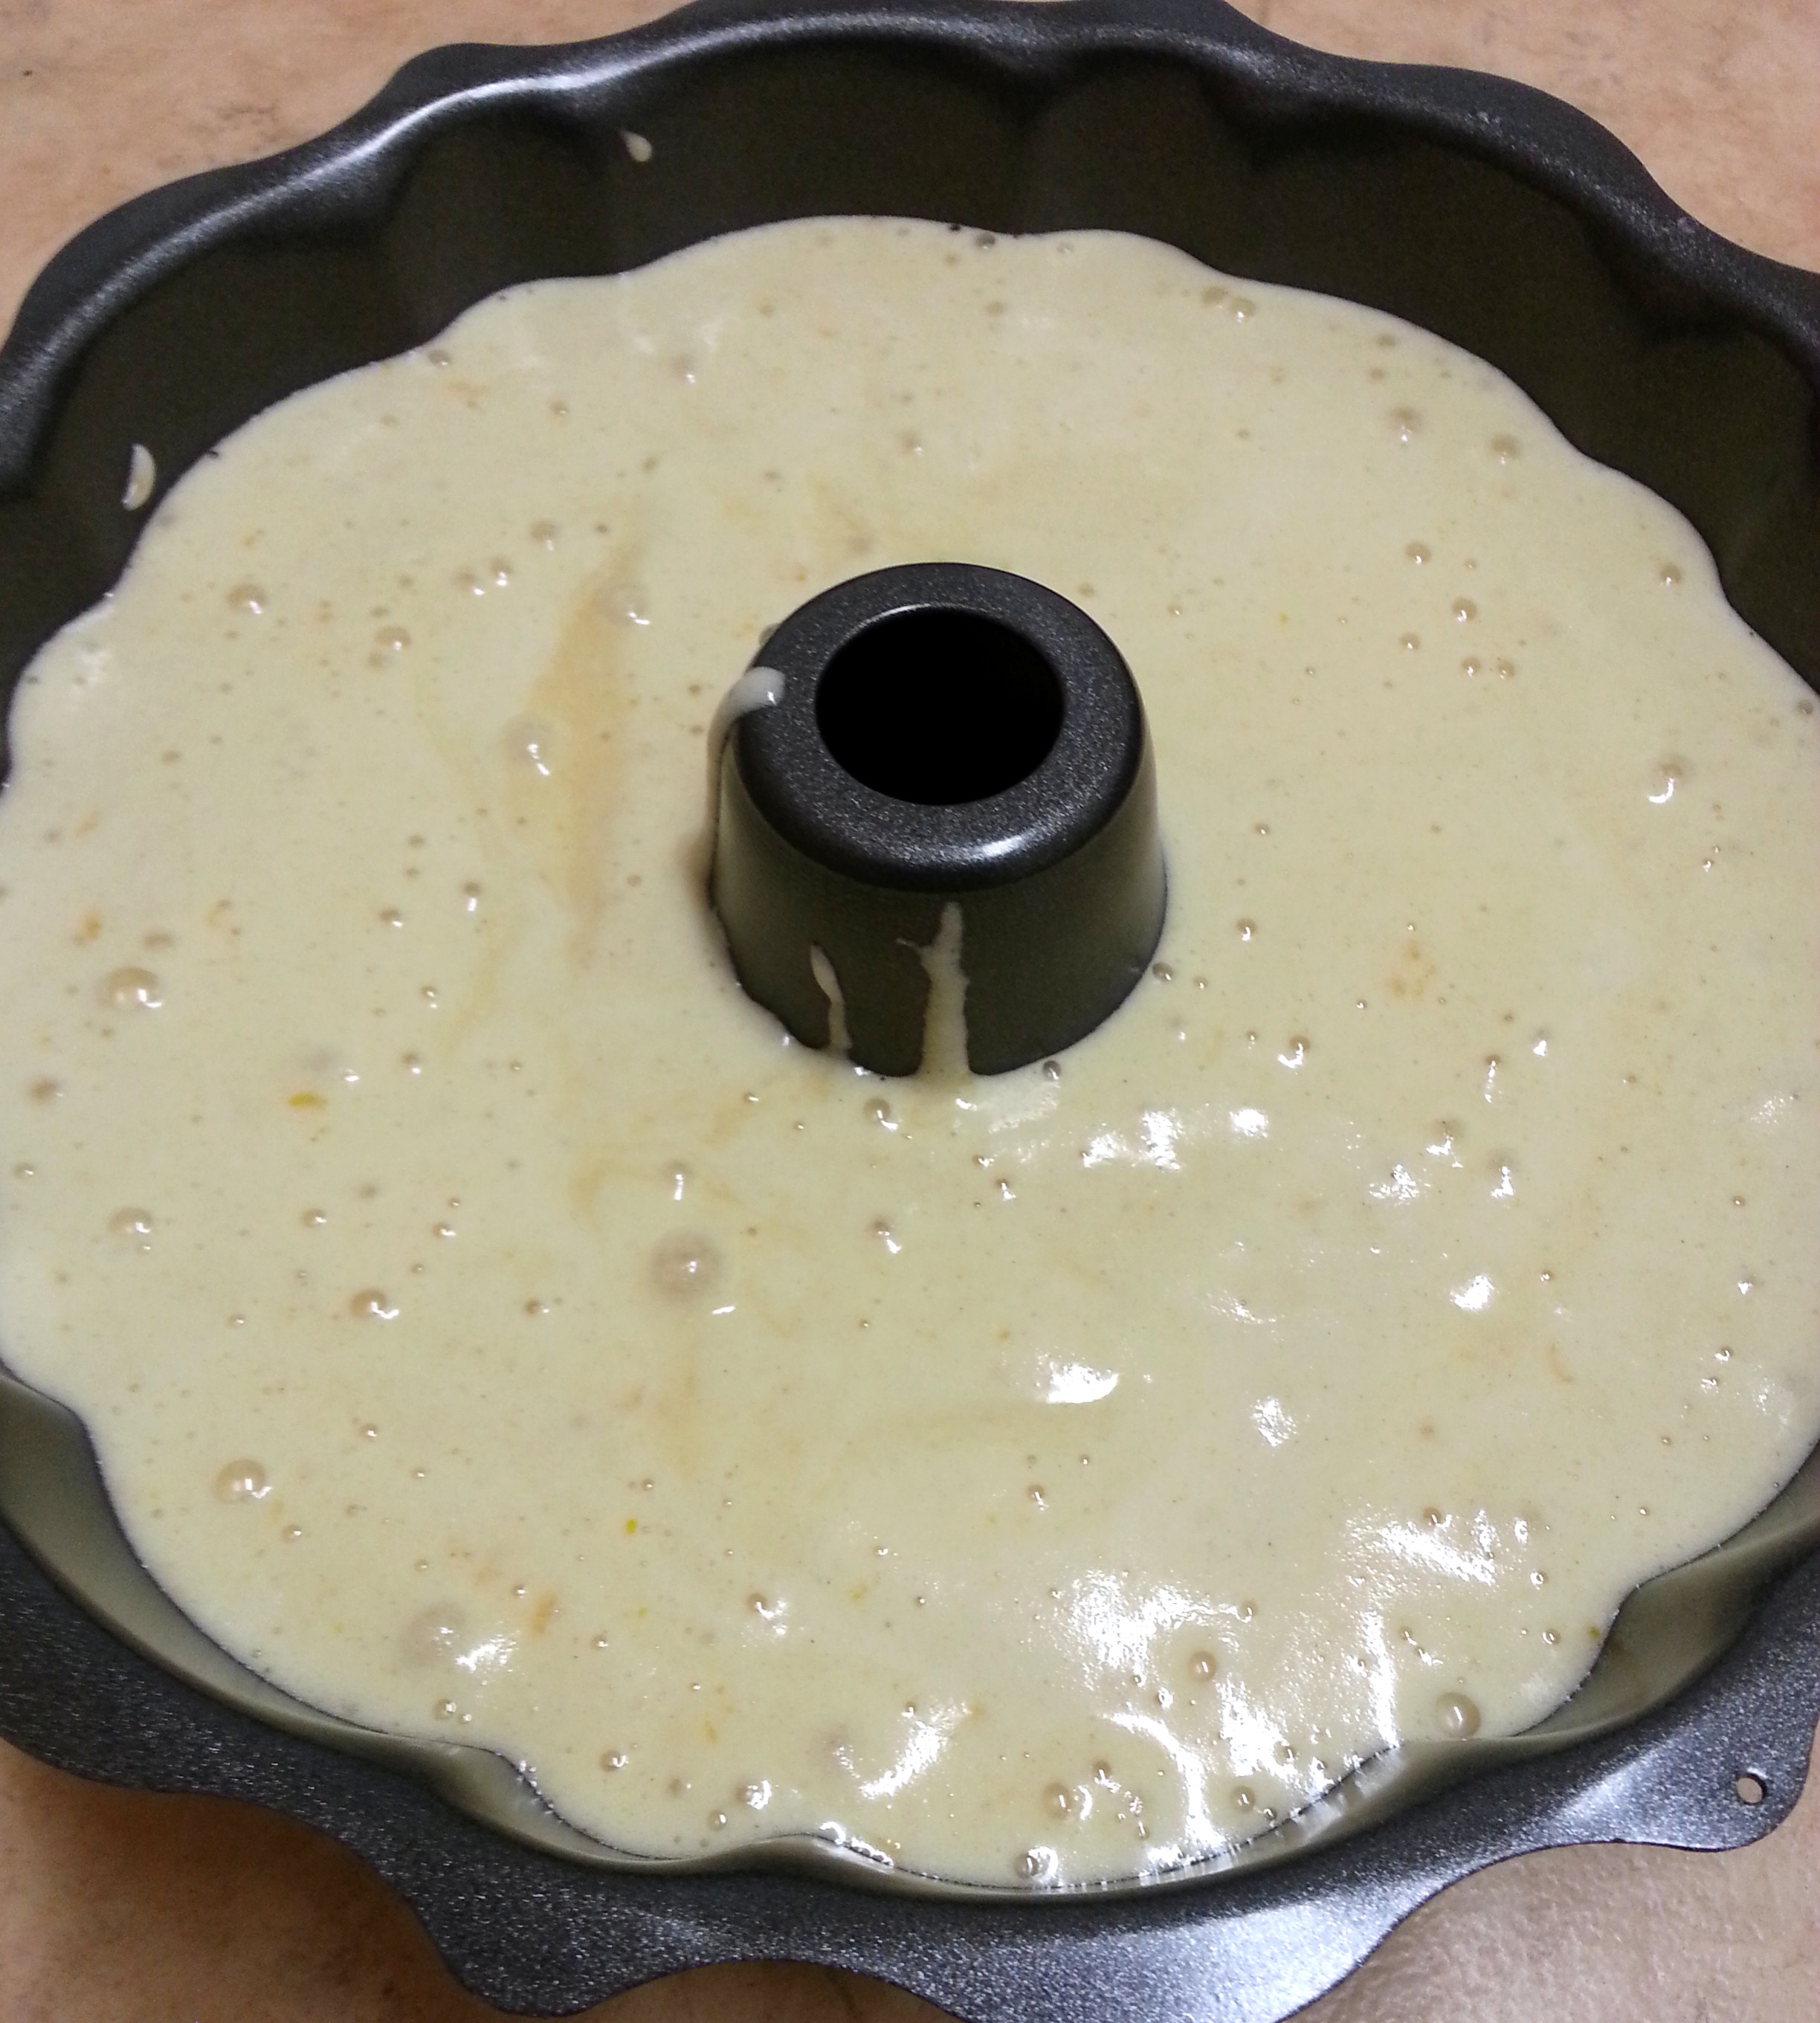
  5. The batter will be extremely runny. Pour in well greased pan and bake at 180 degrees for 30 minutes or until a skewer inserted into the centre of the cake comes out clean.
  6. While the cake is baking, make the frosting. Put the water, sugar and butter in a pan and bring to boil. Remove from heat and add the broken chocolate. Swirl the pan so that the chocolate is fully covered by the liquid. Leave for a while to allow the chocolate to melt.
  7. Then whisk with a spoon, mixing properly. You can either leave at room temperature to thicken if you have time or put in fridge/freezer to set quickly.

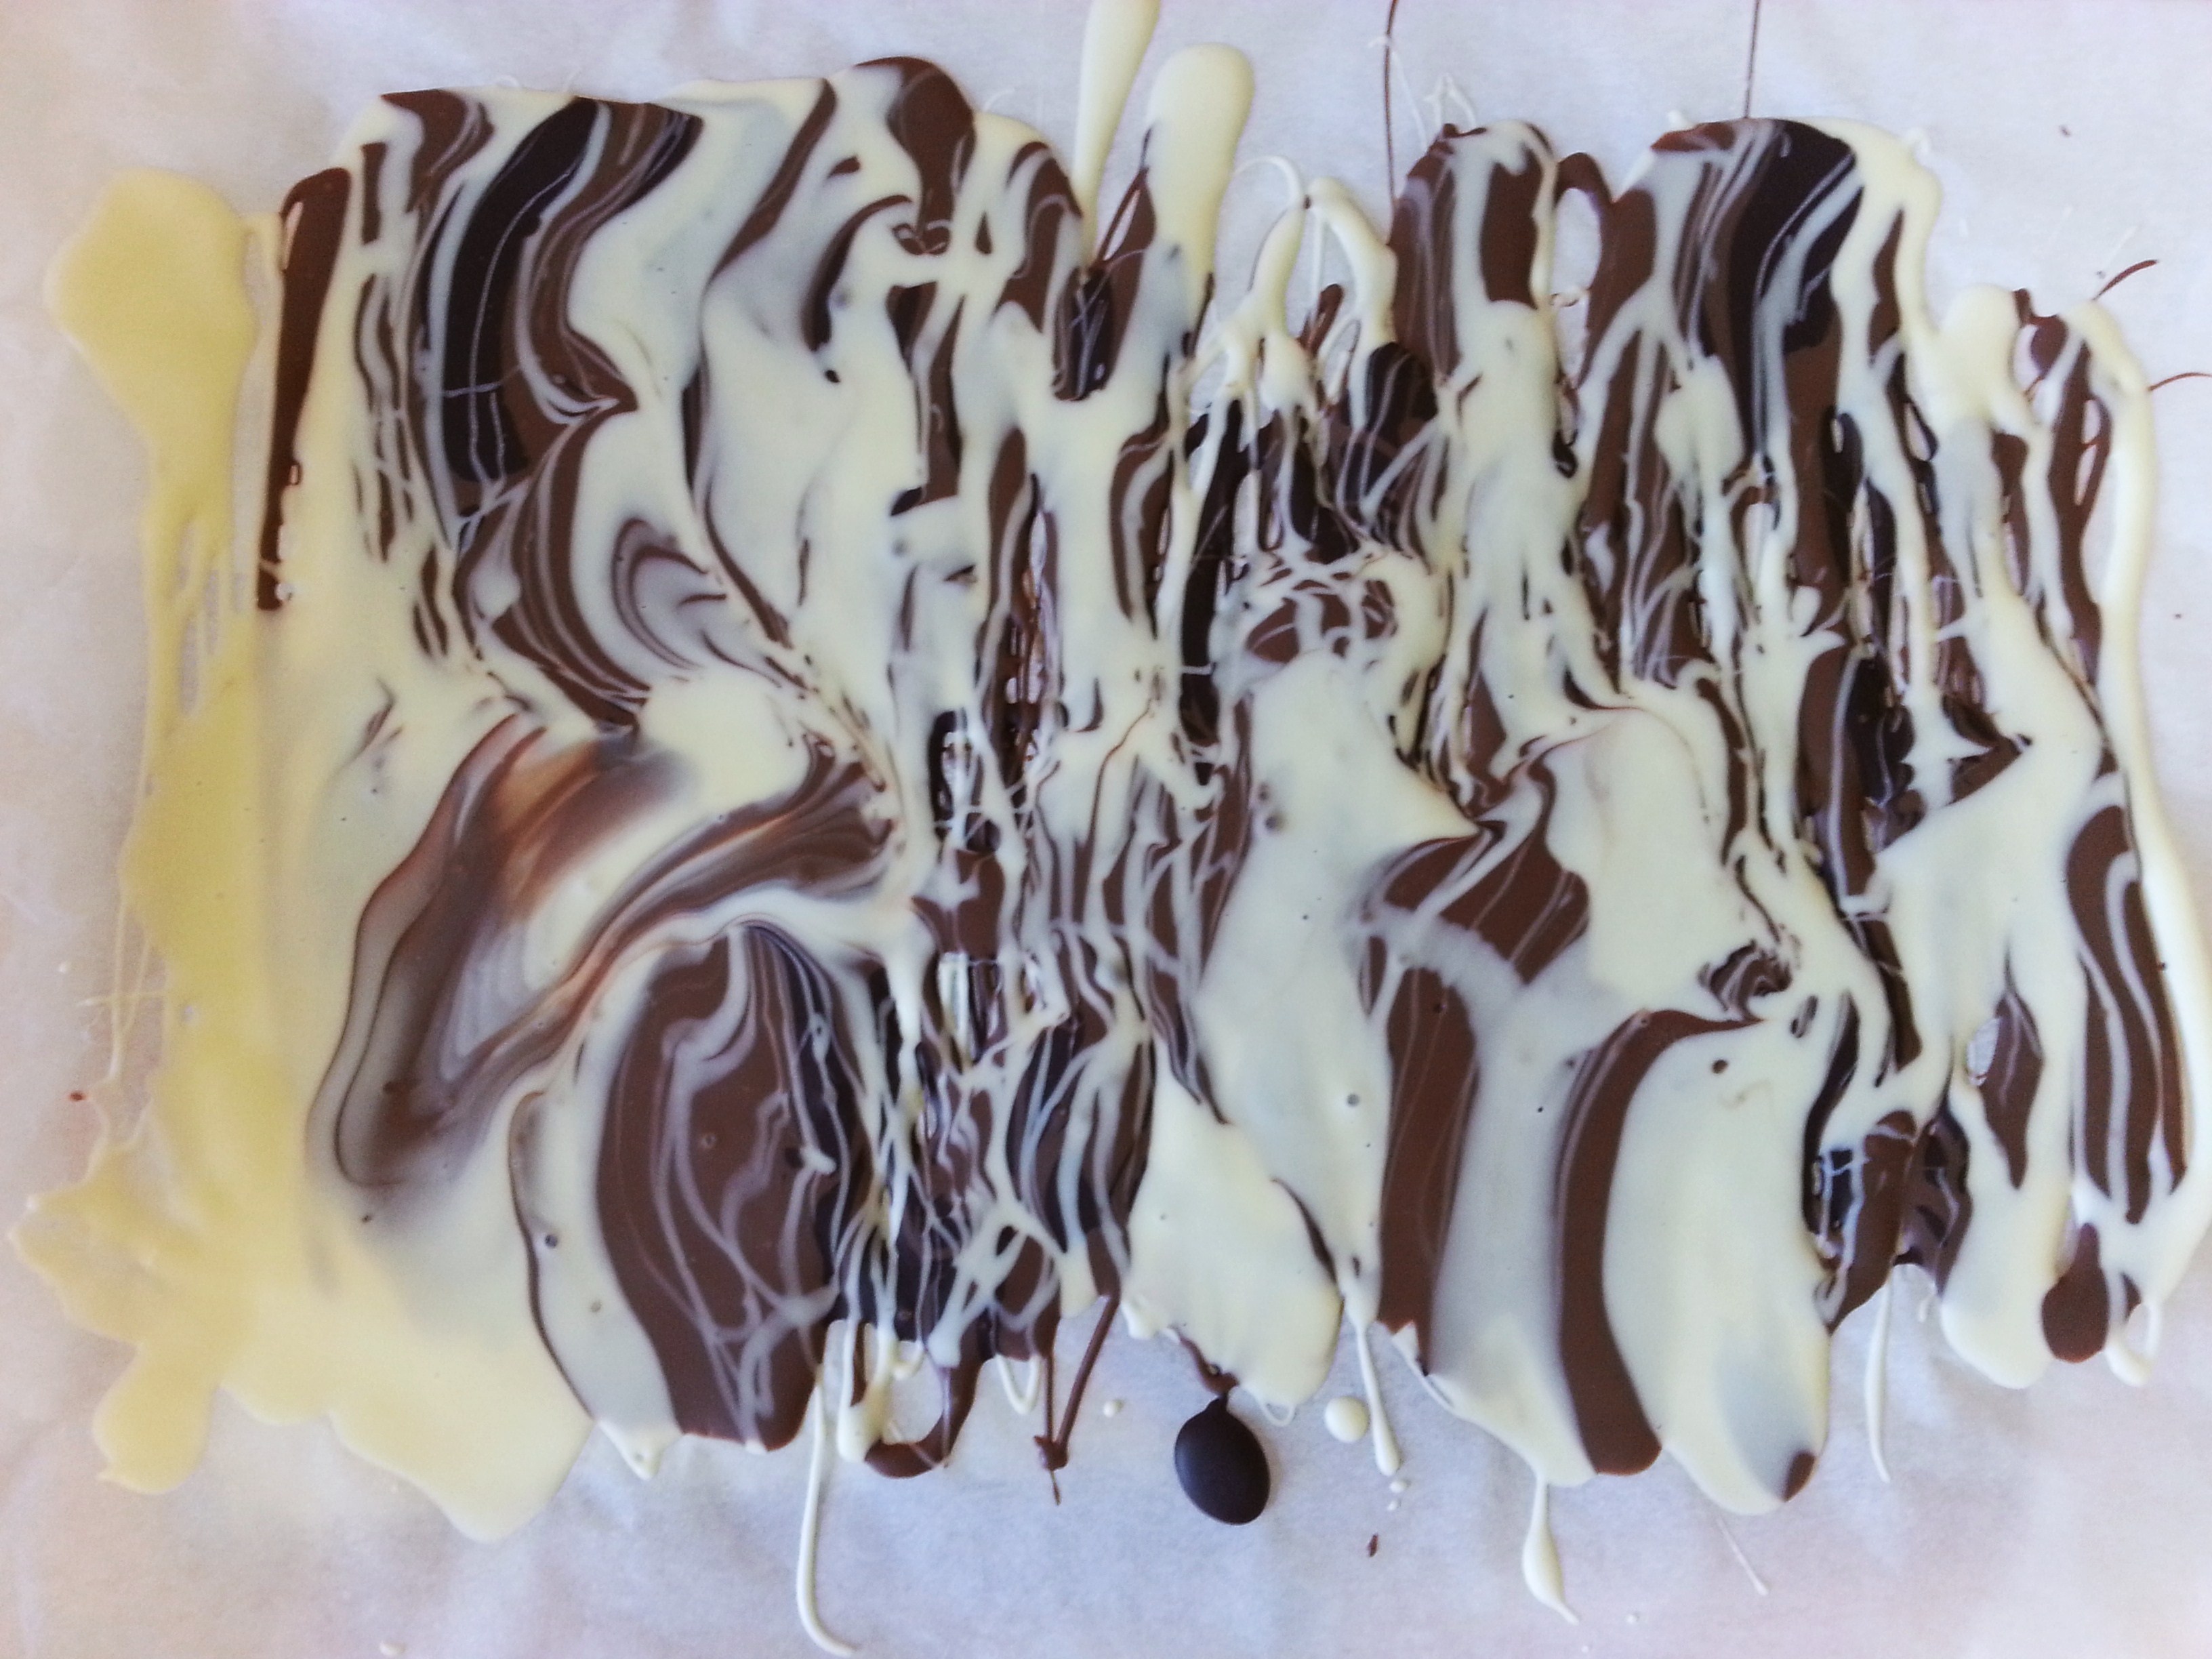
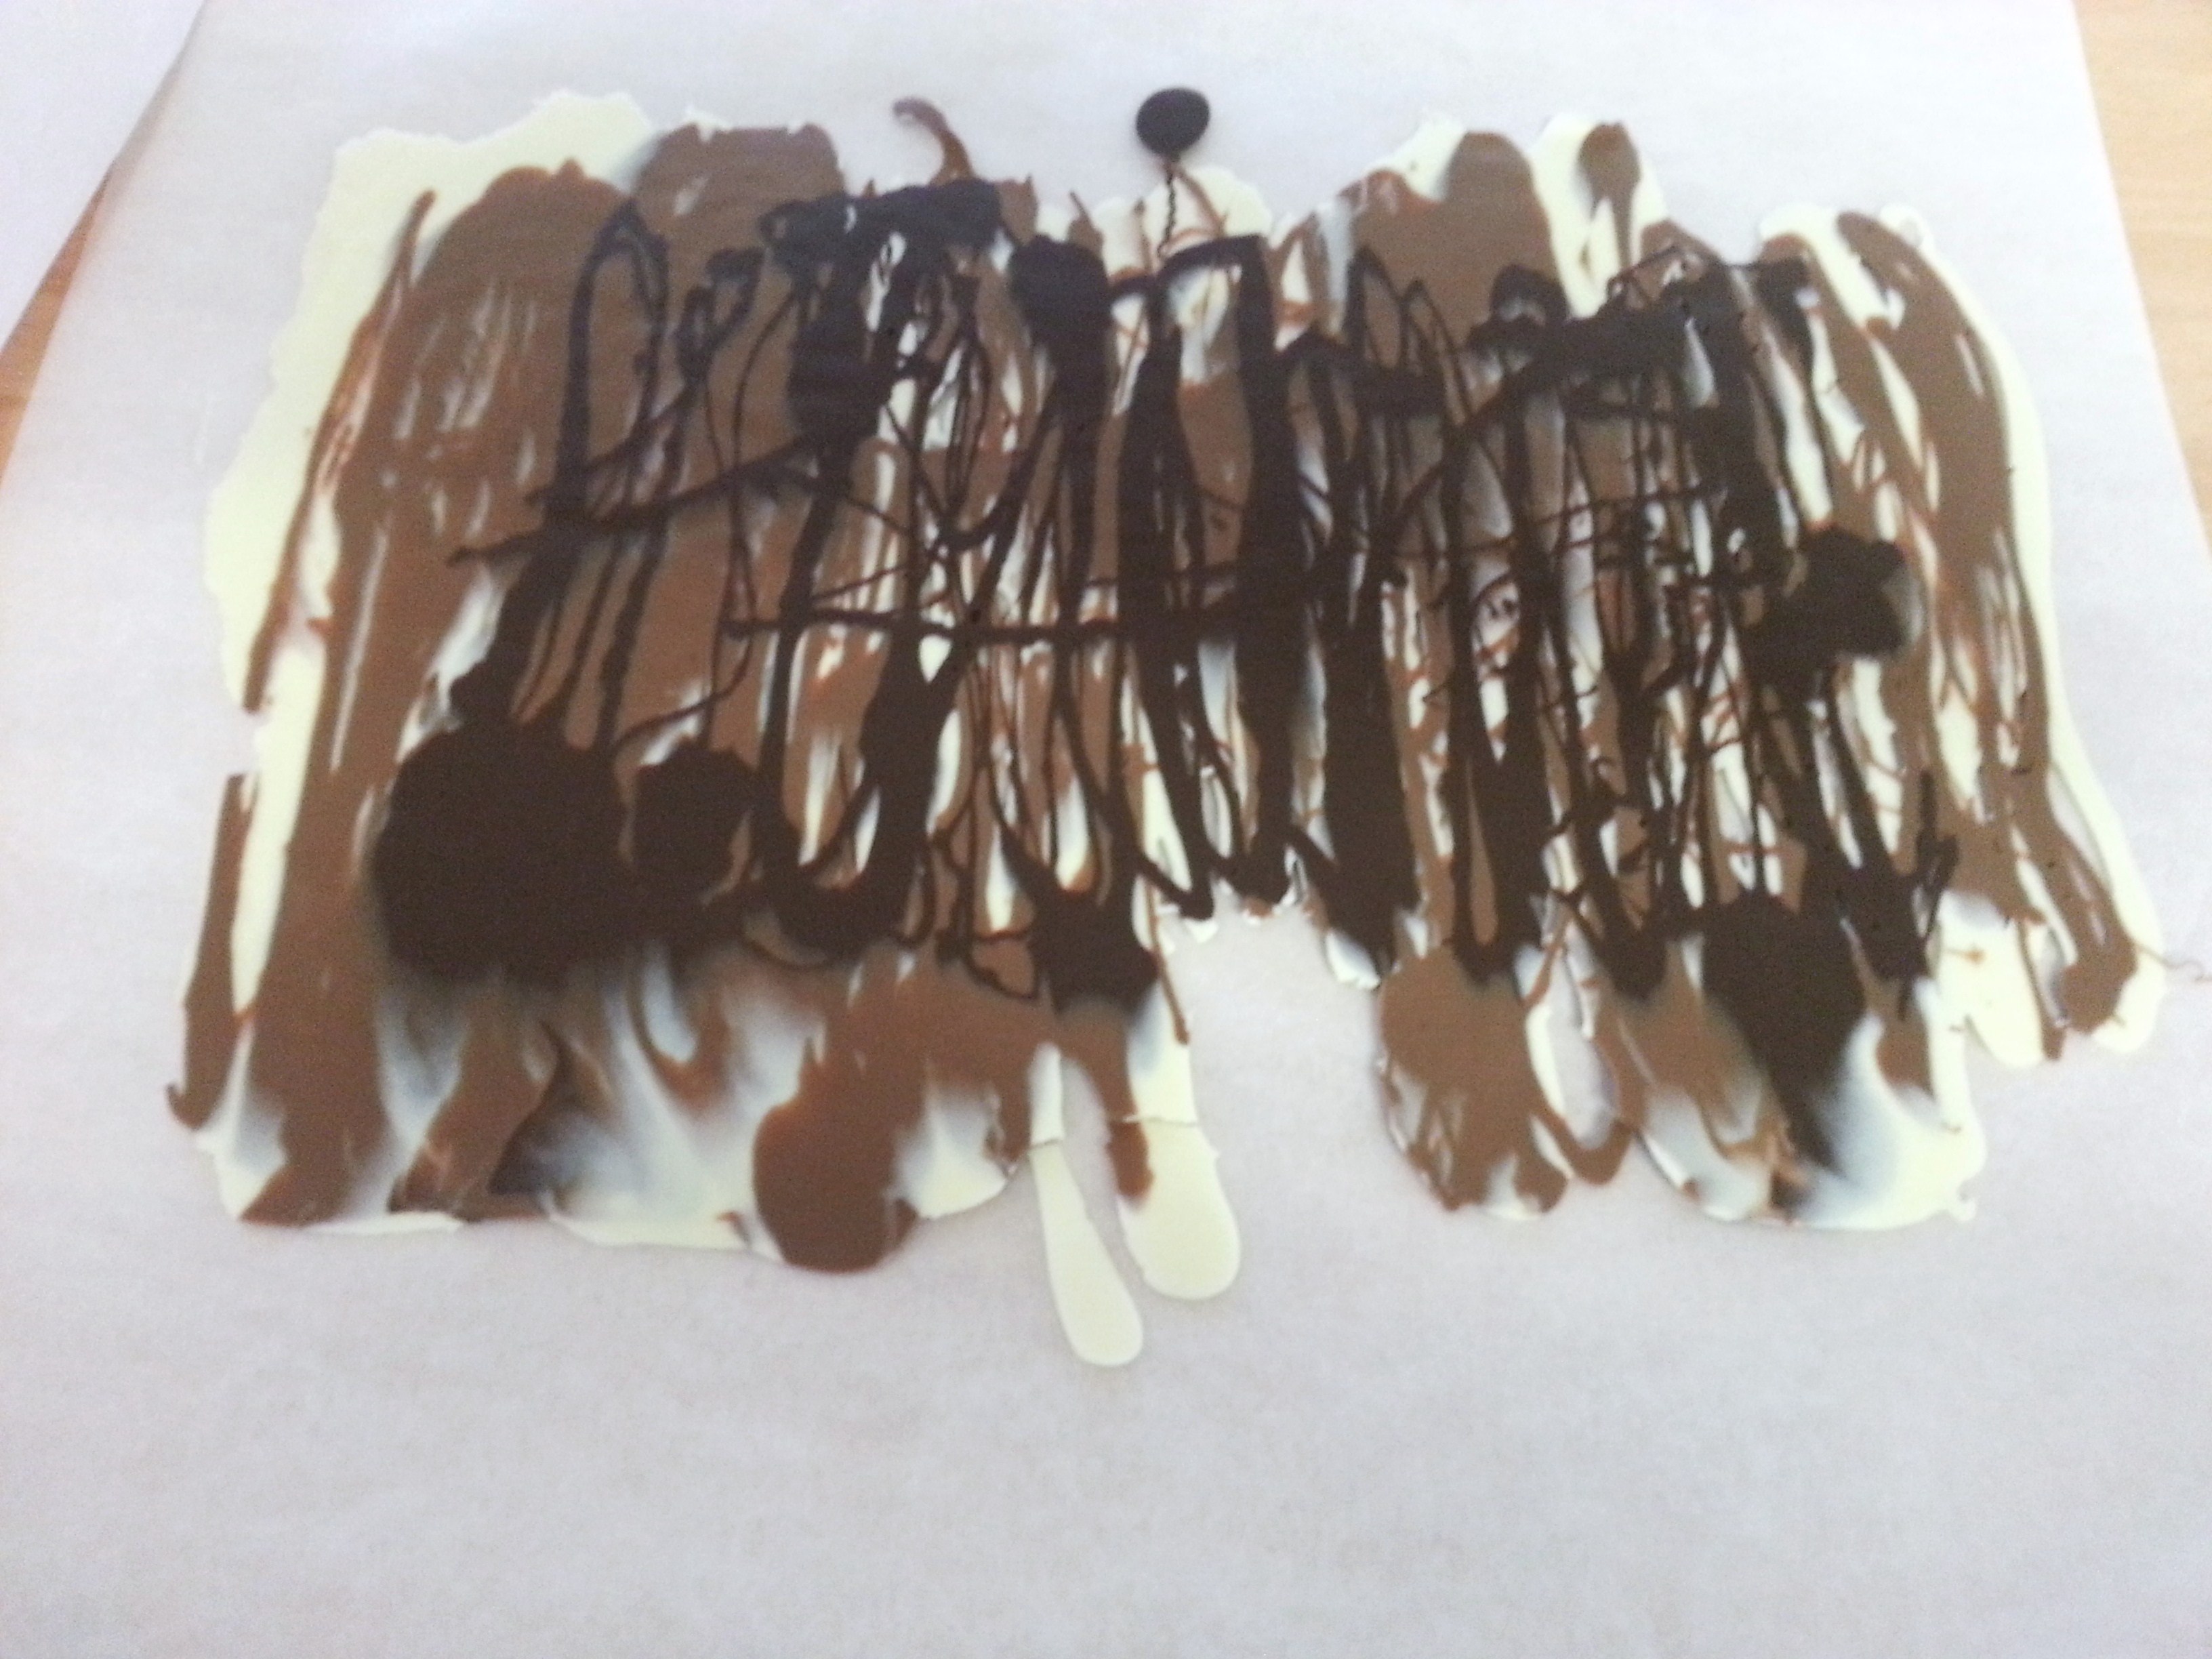
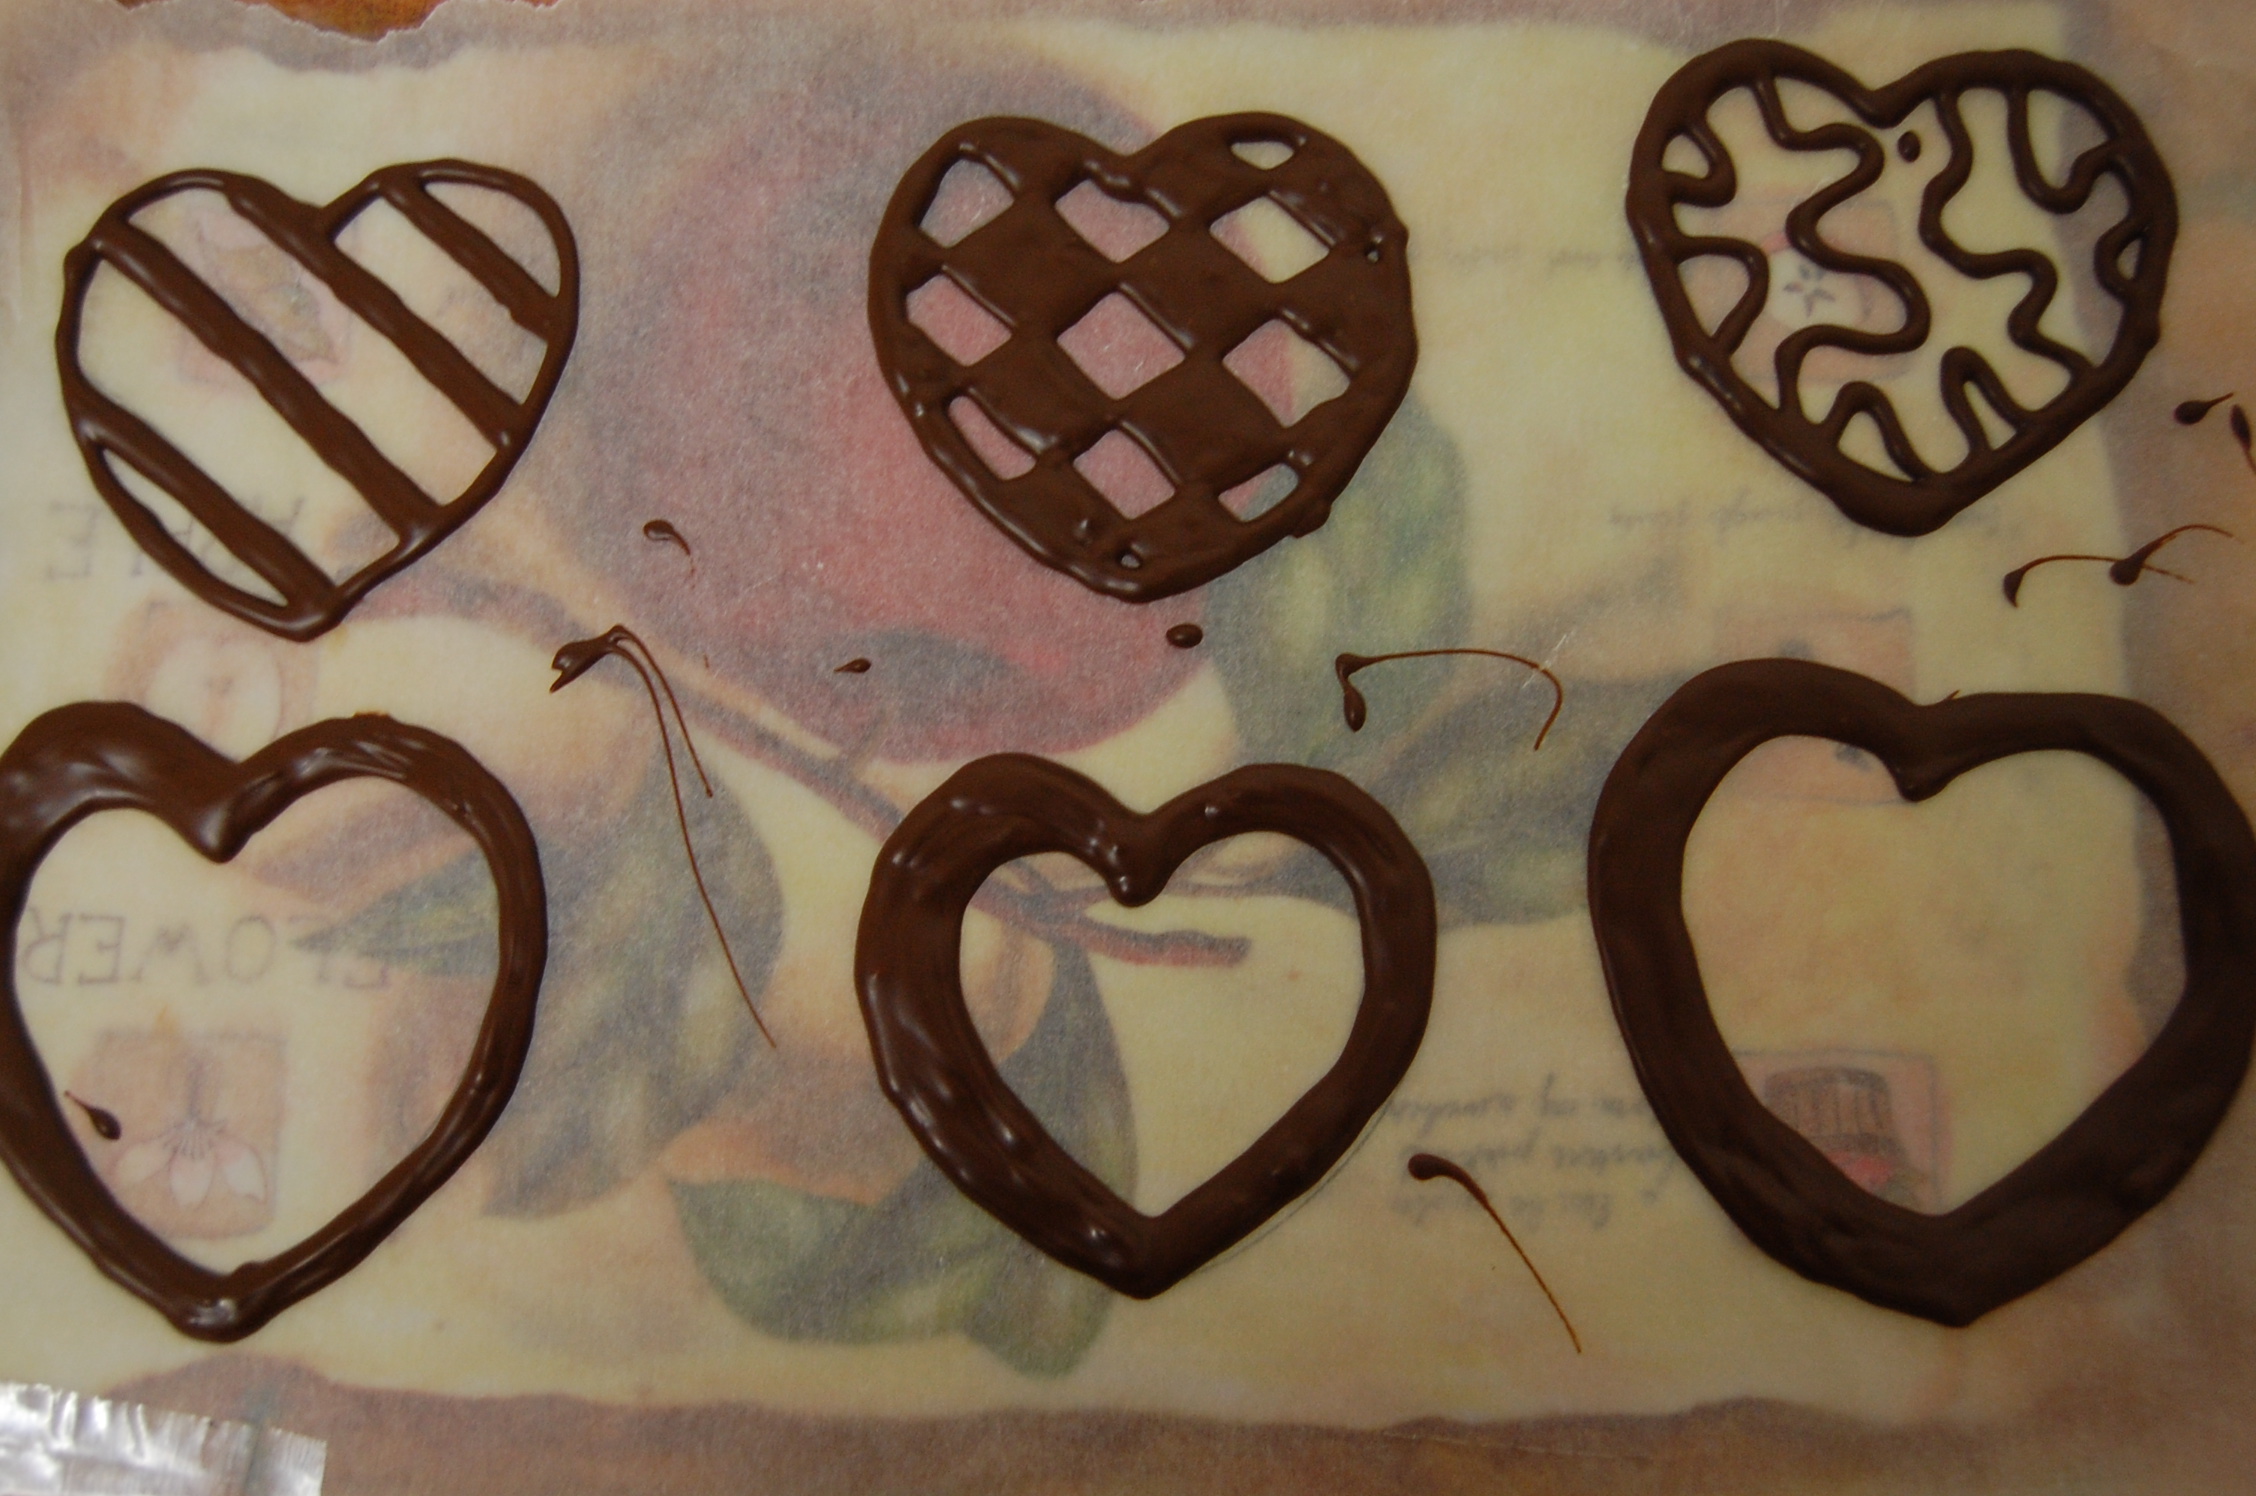
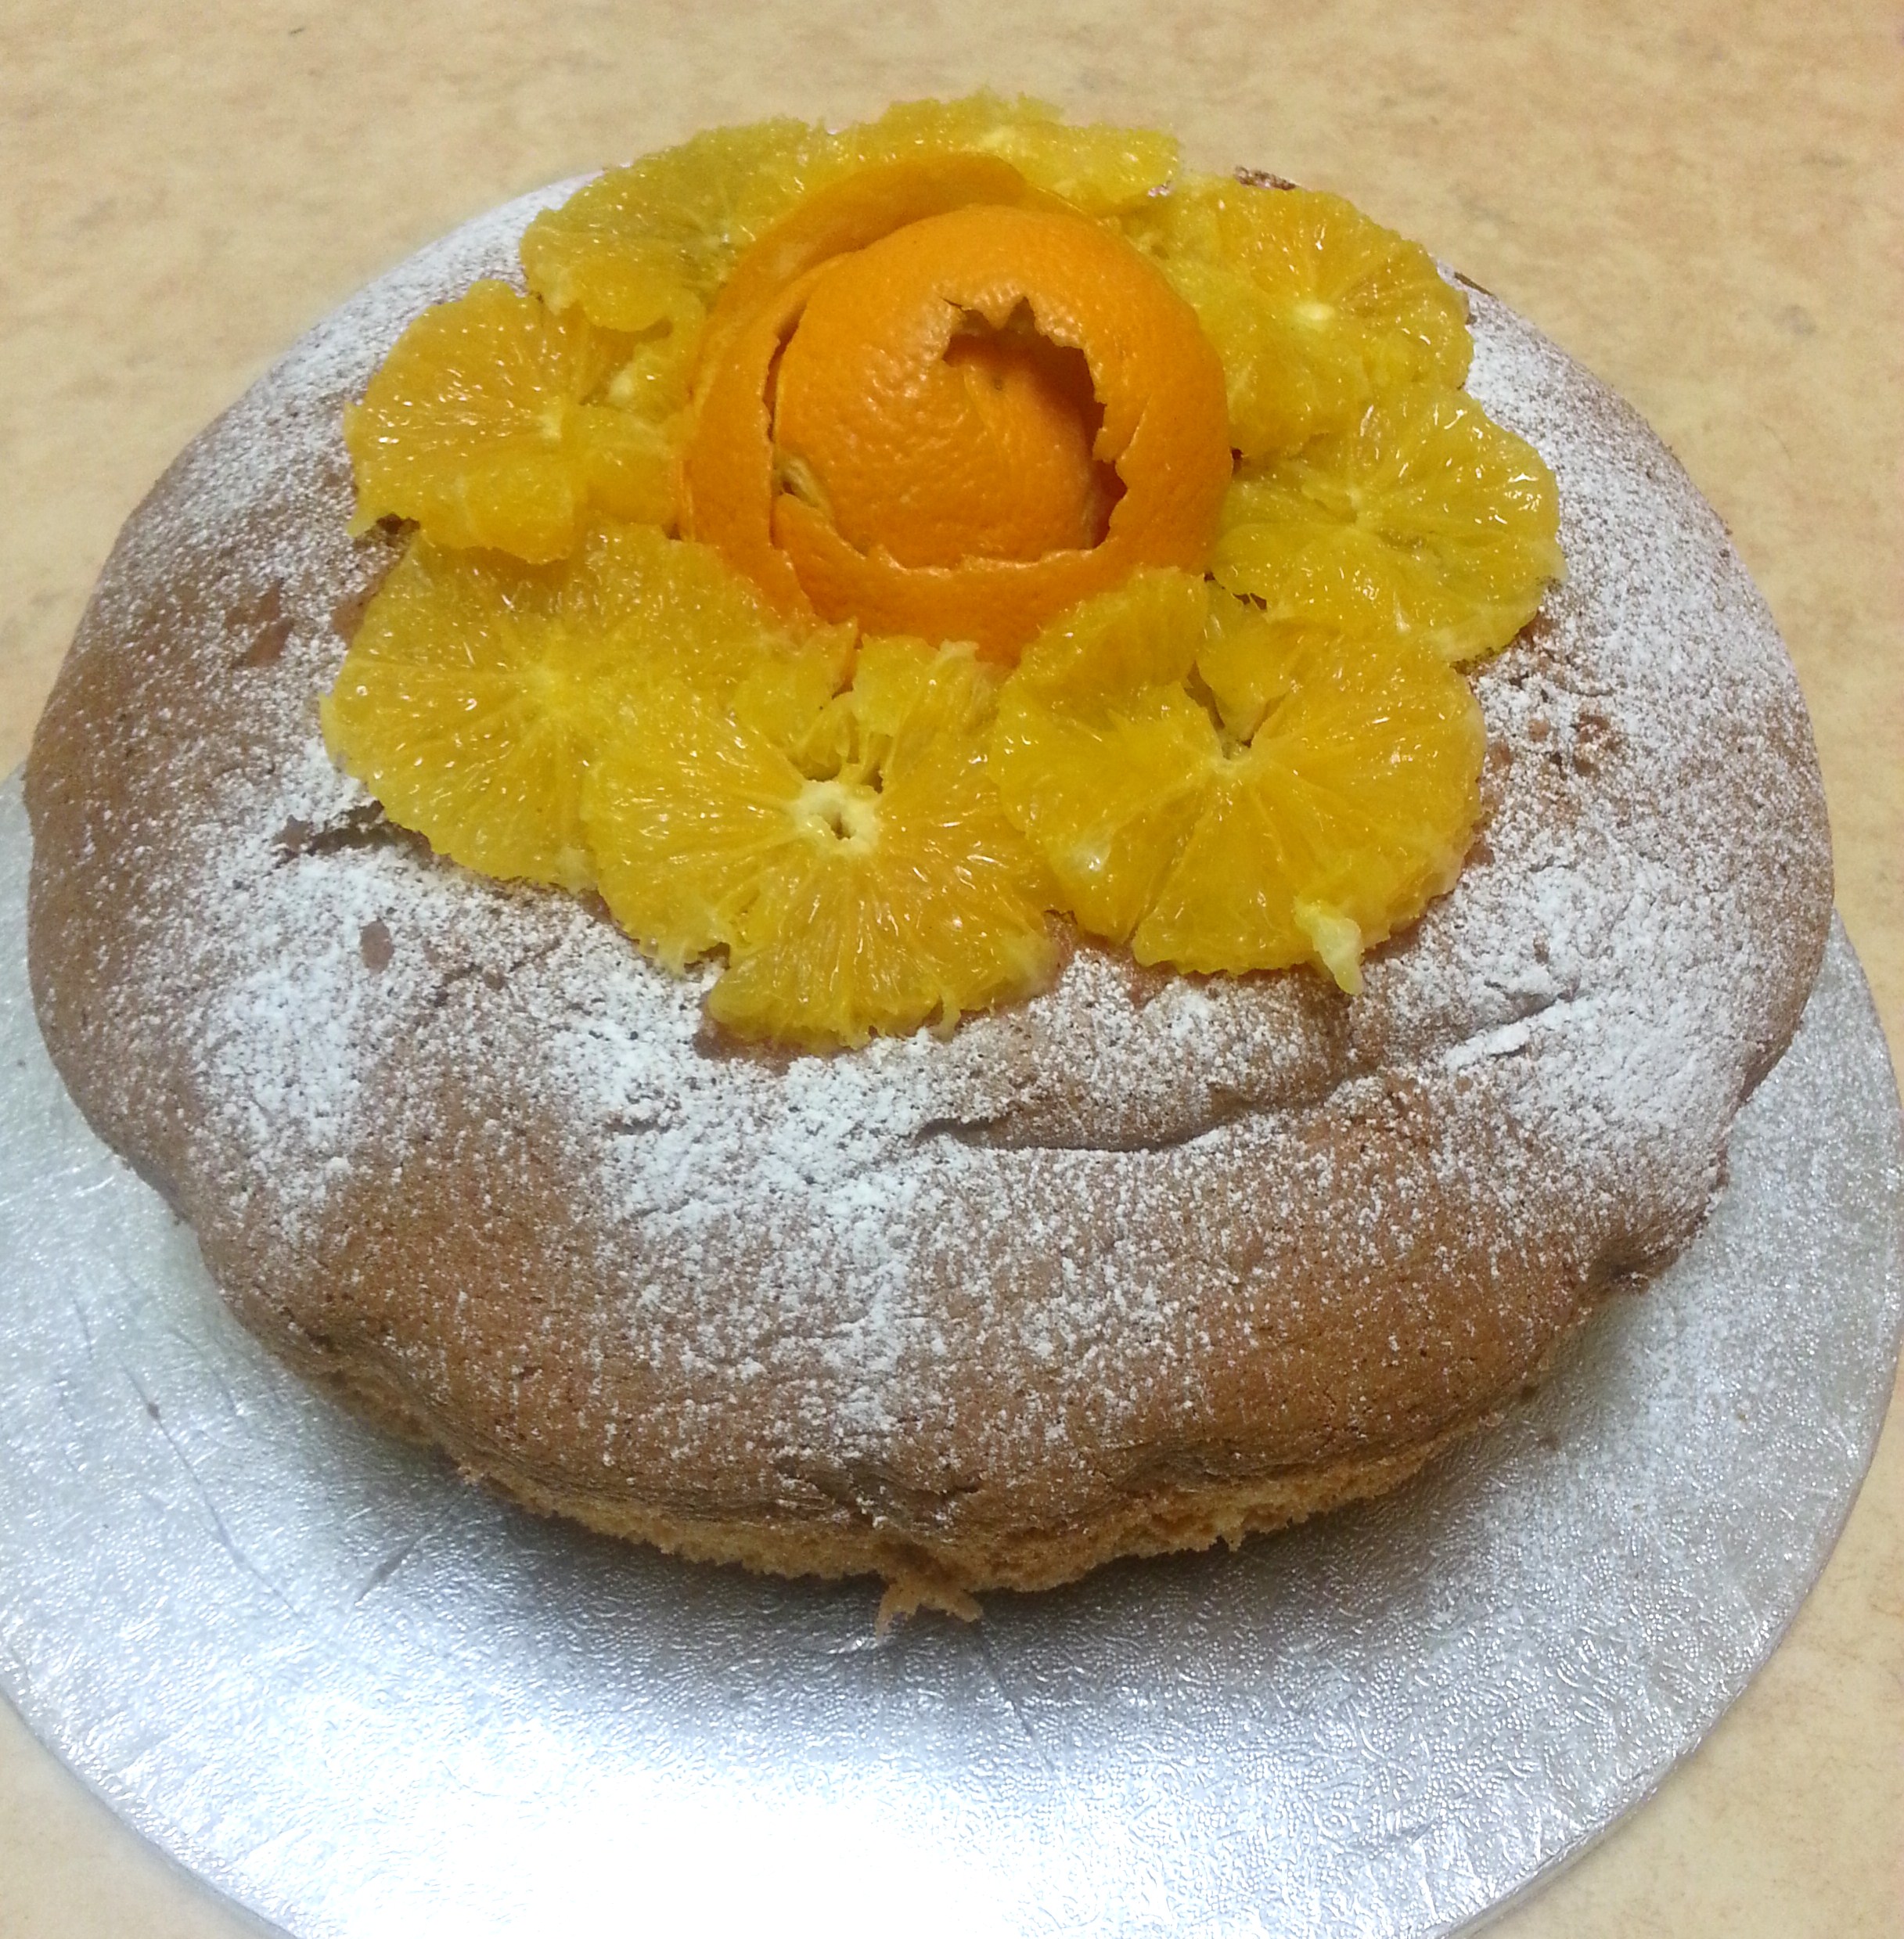
I sliced my cooled cake horizontally and put frosting in the centre and on the sides. I decorated with chocolate shards and piped some roses with ganache. You can just frost it and serve it as such, it tastes amazing just like that!

IMG-20140612-WA0004


Chocolate Shards

Standard

There are so many ways chocolate can be used for decoration, and I am only starting to learn few of them. I have done chocolate collars a few times now and am fairly confident in making them. This time when I was asked to do a chocolate cake, I started trolling through various images online to find out what could be done. And my oh my, there are so many things which I wouldn’t even dare attempt at the moment, but these shards looked good. Apparently there are (at least) two ways of making these shards, and I will be writing about the method I used.

I used the shards to decorate this Devil’s Food cake.

upload5


Ingredients:

Dark Chocolate, Milk Chocolate and White Chocolate – Cubed

Method:

Melt all three chocolates in separate bowls, either in microwave or a double boiler. If melting in a microwave, heat for only 30 sec bursts and stir constantly. Stop when most of the chocolate is melted, stir briskly to melt all the remaining chocolate.

Take a large square piece of baking paper and put on a movable surface, like a tray. Drizzle dark chocolate, then milk, then white all over it. Then hold the tray and paper up carefully, trying to sort of let the chocolates merge a little bit into each other.

upload

Now put the tray in the fridge to set for an hour.

Take another square piece of baking paper and put on your work surface. Take the chilled and set chocolate from the fridge and invert it on top of the second piece of baking paper, then carefully peel off the baking paper from the chilled chocolate. The chocolate would now be inverted, and look like this

upload1


Now taking a sharp knife, trim the sides to get a square/rectangular shape. You need not be very precise on this, just get some neat edges. Now, using the same knife, cut it into shards. The trick is to touch the chocolate as less as possible, or not at all, because it WILL melt because of the heat of your hands.

upload2


The beautiful shards are ready!!

Rice Krispies and Strawberry Cake

Standard

My 5 year old son just loves Kelloggs Multigrain Rice Krispies, at least since past few months he is fixated on them. So the last time dear husband got the wrong kind of rice krispies, with strawberry flavour . Hmmm, so obviously, dear sonny didn’t want to even look at them.

Have been thinking of what to do with them, and since I love baking, came up with this idea. This is a cake with Strawberry flavoured Kelloggs Multigrain Rice Krispies, fresh strawberries and toffee sauce. Few of the rice krispies still had a crunchiness to them, not really sure how as I was expecting it all to be quite mushy. The taste was quite good, very moist and I think the toffee sauce added on to the moistness.

upload1

Makes a 6″ round cake

Ingredients:

For the cake:

Plain flour – 150 gms

Butter – 150 gms

Caster sugar – 150 gms

Eggs – 3, medium

Strawberry crush made with 4 med strawberries and some water – 1/4 cup or 3 tblsps

Kelloggs Multigrain Strawberry rice krispies  – 40 gms

Baking powder – 3/4 tsp

Baking soda – 1/2 tsp

Whole milk – 1 tblsp

Icing Sugar to decorate

Extra 7-8 strawberries to serve

For the Toffee Sauce: You need about 4 tblsps

Butter – 25 gms

Light brown sugar – 60 gms

Golden syrup – 70 gms

Double cream – 55 ml

Vanilla extract – 1/4 tsp


Method:

  1. Preheat oven to 170 degrees C. Prepare a 6″ round pan by oiling and dusting with flour.
  2. Sift the flour 2-3 times together with the baking powder and baking soda and set aside.
  3. Cream butter and sugar till light and fluffy. Add eggs one by one mixing well after each addition.
  4. Add sifted flour, strawberry crush, rice krispies and milk. Fold in with a spatula, mixing well. Be careful not to overbeat.
  5. Pour in the prepared pan and bake at 170 C for 30 minutes. The cake is done if a toothpick inserted in the centre comes out clean.
  6. Meanwhile, make the toffee sauce. Put all the ingredients in a hot pan and bring to boil, stirring continuously for 4-5 minutes till it thickens. Set aside to cool down.
  7. Take out from oven and leave to cool down completely.
  8. To serve, slice the cool cake horizontally and spread 2 tblsps of toffee sauce on the lower part of the cake. Spread some sliced strawberries and put the top part of the cake on it. Then repeat this on top, dust with icing sugar and serve!

upload2


Lemon Cake

Standard

Lemon cake is something that makes me drooollll…..Every time I walk past Pret, I’m super tempted to walk in and buy their Lemon cake slice…Its so so so tasty and that lemony tang…to die for..For of course, I don’t eat it every time, only about 4 times out of 5 🙂

So when I was thinking up of which cake flavour to make for my husband’s birthday cake, I automatically turned towards lush lemons…woohoo…This cake was so moist and tasty. I baked it on Monday and it stayed out to be decorated on Tuesday. We had some leftover on Wednesday ( still out at room temperature), and the cake was quite moist, hadn’t dried up yet.

I think I hit jackpot when I stumbled upon this recipe…its from BBC Good Food and its just amazing! There were a few things I adjusted here and there, but mostly the recipe is the same.

Lemon cake

Use two 8 inch pans for best results

Ingredients:

Unsalted butter, softened – 350 gms

Caster sugar – 350 gms

Eggs medium, lightly beaten – 6

Plain Flour – 140 gms

Self raising flour – 280 gms

Lemons – 4 ( Use 3 if you are using limes, but you can adjust this as per your taste as you go along). We will use both zest and juice

Pinch of salt ( Leave out if using salted butter)

For the syrup (you will need double this if you want to slice the cake into two halves and put the sugar on both, I just brushed the tops):

Lemon – 1 ( Use 1/2 if you are using limes, but you can adjust this as per your taste as you go along). We will use both zest and juice

Caster Sugar – 3/4 cups

Water – 1 tablespoon

Method: 

  1. Preheat oven to 140 degrees C. Oil and dust your two 8 inch pans and set aside. You can also use a 9 inch or 10 inch pan, the baking times will vary.
  2. Cream the butter and sugar together till creamy and fluffy. Then put the beaten eggs in, little by little, mixing well after each addition. Add a tablespoon of the plain flour if you think the mixture is curdling.
  3. Add the pinch of salt into the two flours and sieve. Fold the beaten egg mixture into the flours, then add in and fold the lemon zest and juice.
  4. Make sure you don’t overmix and deflate the batter. This is the time to taste test for whether you need to add more lemons. I would suggest adding the lemon juice and zest little by little so you can taste it as you go along.
  5. Put the batter into the prepared pans and bake at 140 degrees C. It took my cakes 50 minutes to bake, but my oven cooks much faster. The original recipe states 1 hour 15 minutes. It also depends on the cake tins you are using. Since I split the batter into two pans, it baked much faster than what it would have in one. So after 45 minutes watch out for your cake, it will be ready when a toothpick inserted in the centre of the cake comes out clean.
  6. While the cake is baking, put the lemon zest, juice, sugar and water in a pan and bring to the boil. Remove from heat and set aside to cool.
  7. Once done, take out of the oven and leave to cool. When the cakes are cool, poke holes with a toothpick on top and brush with the cooled sugar syrup. You can brush with a second layer, but only if the syrup put earlier has been fully absorbed in the cake.
  8. The top can easily become very moist, so while brushing with the syrup keep an eye out and stop if you feel its turning soggy.

Lemon cake (2)

As you can see, the cake has risen quite a lot…This is just one of the two, so I am pretty pleased with the recipe!

You can serve it as such, or do some sort of icing like buttercream, glaze, ganache etc. I carved it into a Wristwatch cake, and used Lemon Buttercream and Lemon White Chocolate Ganache on it.

Now go for it, and bake yourself a yummy gorgeous lemon cake!

Wristwatch Cake – Rolex!!

Standard

This is a gorgeous Rolex wristwatch cake I made for my husband’s birthday…He received a massive surprise and the expression on his face was priceless. I have been wanting to make a wristwatch cake since 5 years, but this was when I actually got the time and chance.

upload

The sponge is a Lemon Cake. The filling inside the cake was Lemon White Chocolate Ganache. The outsides of the cake, under the fondant was Lemon Buttercream.

I was using two 8 inch round cakes. First I covered the cake board with black fondant. Then I estimated how big I wanted the dial to be, and cut one of the two cakes to the required size, and kept it to one side to be used later. Then taking the other cake, I cut it the same size as the dial, slightly bigger at the base and tapering as it went up as this was going to be used as the base. Then this base cake was filled with the lemon ganache, and crumb coated with the lemon buttercream.

Then I placed this on top of the prepared cake board. Then I rolled more black fondant much bigger than this cake base, so that I could create pleats when I put it on top of the base cake. You can see in this picture, the prepared cake board and cake base.

DSC_1380

Then I put this to one side to harden up and turned my attention to the actual wristwatch.

I took the dial that I had cut earlier from the cake, and used leftover cake pieces to form the strap of the watch. The whole cake was filled with lemon ganache. Then finally when I had the required shape, I sealed it all in with lemon buttercream. I also sort of used lemon buttercream as a glue wherever I was putting together little cake pieces and kind of stuffing holes. Here is the crumb coated wristwatch.

DSC_1381

Then I rolled some gold coloured fondant and covered this crumb coated cake. When the cake was firmly covered with fondant I lifted it with a large spatula and put on top of the prepared cake base. I had to put extra pieces of black fondant under the straps as the cake base was not large enough to be under the whole of the cake and it started drooping. Then rolled some more black fondant and create more pleats over the extra fondant bits, pushing the pleats under the watch strap.

I then took a round bowl as I didn’t have a round cutter as big as the dial. I just used this to mark where I wanted the dial to be. Then all the other markings on the dial and strap were done freehand using the fluting and veining tool. I just pressed into the fondant to create these markings. When I was happy with the markings, I painted over the cake with edible metallic gold paint and left it to dry for about an hour. The writing and Rolex symbol I did freehand using my edible black pen. I used black fondant for the other detailing.

Here is a closeup of the dial :

DSC_1389

I even made the diamonds myself using sugar, so these are literally candy diamonds.

Here is a side view of the cake:

DSC_1388

Crumb Cake

Standard

If you have ever seen ‘Cake Boss’, and like to bake cakes, you will understand why I am a huge fan of Buddy Valastro… Every single one of his cakes seen on Cake Boss is a masterpiece, and I draw so much of my inspiration from him. I have actually also learnt few things from his show about fondant modelling, modelling chocolate, general basic baking, fixing cakes, putting them together, filling cakes, frostings …phew! I love ‘The Next Great Baker’ too, an awesome watch. It was actually while watching Cake Boss that I saw Buddy make this Crumb Cake for one of his customers. That was the first time I had ever heard of this cake, and the way Buddy made it and then the lovely yummy tasting of the cake! I HAD to make it, and make I did. And am I glad I did!! Its just so tasty, crunchy and crumbly… loved it… The link I followed for the recipe is here.

20131017_210949

I have adapted this recipe around few ingredients because of their unavailability, and added my notes in. So here is my version of the recipe:

I used a 10 inch pan, but you can use one 9 inch pan or two 8 inch pans.

Ingredients:

For the cake:

Cake Flour – 3 cups (*see notes for substitute)

Sugar – 2 cups

Salt – 1/2 teaspoon

Baking powder – 2 1/4 teaspoons

Vanilla extract – 2 teaspoons

Vegetable oil – 3/4 cup

Whole milk – 1 cup

Eggs, large – 5

For the crumbs:

Brown Sugar (dark or light) – 1 cup

Sugar – 1/4 cup

Ground cinnamon – 2 teaspoons

Salt – 1 teaspoon

Vegetable shortening/ lard – 1 1/4 cups

Plain Flour – 3/4 cups

Pastry Flour – 3 cups (*see notes for substitute)

Method:

  1. Preheat oven to 180 degrees C and prepare the cake pan you decide to use.
  2. Make the cake first. Put the cake flour, sugar, salt and baking powder in a bowl and mix well.
  3. Put the vanilla essence, vegetable oil and milk in a bowl with a beater and mix well. Add the eggs one at a time and continue mixing well, scraping down the sides.
  4. Mix the dry ingredients to this and continue mixing. The batter should be smooth with no lumps.
  5. For the crumbs, put the brown sugar, sugar, cinnamon and salt in a bowl and mix well. Add the vegetable shortening and mix till smooth.
  6. Add both the flours to this mixture and keep mixing, scraping down the sides of the bowl. You can do this by hand or use a beater, food processor etc. Keep beating/mixing till you get a crumbly texture.
  7. Put the cake batter into the prepared pan, then add the crumbs to the top.
  8. Bake at 180 degrees C for about 20-25 mins or until a toothpick inserted into the centre of the cake comes out clean. Another check is that the crumbs should be golden, and the cake spongy to the touch.
  9. Take it out of the oven and leave to cool.20131017_204314

Notes:

  1. Substitute for Cake Flour. 3 cups Cake Flour = 2 1/2 cups Plain Flour + 5 Tablespoons cornflour. Sift these 2 together 4-5 times and its ready to use.
  2. Substitute for Pastry Flour. We need 3 cups pastry flour. 1 cup Pastry Flour = Take a cup, put 2 tablespoons cornflour in it. Fill the rest of the cup with plain flour. Repeat this 3 times to get 3 cups Pastry Flour. 20131017_211205

Strawberry Coconut Cake

Standard

I like to think up of some new cake flavours every time I have to bake for someone. So this time when I wanted to make an anniversary cake for my sister in law, I went trolling for ideas. My sister in law had loved the Coconut Pineapple cake I had made earlier, so I thought of tweaking the idea a bit. I like strawberries, and I like coconut, so thought how about a coconut strawberry cake! The cake turned out really good, better than I expected.

In this cake, I also wanted to experiment with chocolate collar and chocolate hearts. The theme was anniversary, so I thought of embedding pink hearts in the cake collar. The cake was gorgeous, and tasted fab as well! The icing was all fresh cream, so lushhhh!!

20140204_202700 20140204_204740

Makes an 8 inch cake

How to make the cake:

Ingredients:

For the cake:

Self raising flour, sifted – 250 gms

Caster sugar – 200 gms

Butter – 200 gms

Medium eggs – 4

Coconut milk – 250 gms

Dessicated coconut (unsweetened) – 1 1/2 cups

Strawberry flavouring – 2-3 teaspoons

Strawberries, chopped – 3

For icing:

Strawberry Jam – 2 tablespoons

Fresh double cream – 700 gms

Strawberries, chopped – 4

Icing Sugar – 2 tablespoons

Mascarpone cheese (optional) – 2 tablespoons (I use this to make the icing more stable, but can be skipped if the cake is going to be consumed immediately.)

Method:

  1. Preheat oven to 180 degrees C and grease and dust two 8 inch cake pans. Keep aside.
  2. Put together the coconut milk and dessicated coconut in a pan and bring almost to a boil, stirring well all the time. Mix well together, remove from heat and set aside to cool completely. Do not add to the batter if still hot, this can cause the eggs to start cooking.
  3. Cream together the butter and sugar till light and fluffy. Add one egg at a time, mixing well after each addition.
  4. Add about a tablespoon of the flour to this mixture to avoid curdling, but even if the mixture curdles, don’t worry too much, it will be fine.
  5. Take the sifted flour in a big bowl and fold in the coconut mixture and beaten eggs, butter and sugar mixture till well incorporated.
  6. Add the chopped strawberries and strawberry essence. Fold to incorporate, making sure the whole batter doesn’t deflate.
  7. Pour the batter in the prepared cake tins, and bake at 180 degrees C for 25-30 minutes or until a toothpick inserted in the middle of the cake comes out clean.
  8. Take the cakes out of the oven and leave to cool down for 10 minutes. Then invert on wire racks to cool completely.
  9. For the icing, beat the fresh cream with the sugar in a chilled bowl till stiff peaks form. The bowl and beaters should be in the fridge for at least 30 minutes for the cream to beat best. Keep an eye out on the cream as it very quickly turns to butter after stiff peaks are formed.
  10. In a separate bowl, take the cream cheese and just mix it with a spoon to soften it. Fold in the beaten cream to it.DSC_1284
  11. To ice the cake, take one of the 2 sponges and spread the jam on it like in the picture here: 20140204_110450
  12. Spread some of the whipped cream icing on top of the jam, then put the chopped strawberries on top of the cream.
  13. Cover with the second sponge, and finally cover the whole cake with the remaining whipped cream icing.
  14. Put in the fridge to set while you make the chocolate collar. If you are not making the collar, then the cake is ready to be served now. You can decorate the top with roasted dessicated coconut (which I colored pink for this occasion), and chopped strawberries. I made strawberry roses which you can learn how to do from any of the youtube videos, the way I did!DSC_1291

How to make the Chocolate Collar:

I followed few videos on youtube to learn how to make a chocolate collar. The ones I followed are http://www.youtube.com/watch?v=L-RM7JyToew and http://www.youtube.com/watch?v=s0F1bF0xJhY . However, there are so many videos on youtube to watch and learn, so go for it!

Basically, you need to take measurements of your iced cake’s height and circumference, then cut a baking paper strip of the same measurements. I had to embed hearts in the collar, and make a swirly design on top, so here is my template:

DSC_1287

You need to melt the chocolate, put it in a piping bag with a very tiny hole and pipe the hearts. Make sure it is melted, and not tempered. This means you need to melt it all the way through without any chocolate bits remaining. Make sure you don’t burn it as chocolate is easy to burn. So, I made the hearts with white chocolate coloured pink, and put it in the fridge to harden completely. Then you need to melt (not temper) milk chocolate. Put it in a piping bag to pour over the collar. Use a spoon or spatula to spread it across the collar. First you need to make the swirly designs, as they need to be set before the collar can be prepared. The collar has to be only semi set otherwise it will break when you wrap it around the cake, but the swirly design needs to be set to hold its shape.

After preparing the collar, I wrapped it around the cake and put it in the fridge to set. It took exactly 2 seconds to set…like magic 🙂 . This is the outcome:

DSC_1294

How to make the Chocolate Hearts:

20140204_202900

These hearts can be pre made as they will take some time to set. Once set they will peel off easily off the baking paper.

You need to make heart templates on baking paper and fill them in using tempered chocolate. To temper chocolate, break some milk chocolate in equal sized pieces and put in a bowl. Put it in the microwave and run it for about 20 seconds at a time, till you reach a point when you have most of the chocolate melted with about 1-2 pieces remaining. Stir vigorously till all the chocolate is melted.

I made a template like this and made lots of hearts of different styles just in case they broke. They need to be handled carefully, and touched as little as possible. They are delicate, but not meltaway brittle. Just make sure if you are making designs inside the hearts, all the designs are linked and touch some other design, otherwise it will fall apart.

DSC_1278

Finally, to arrange, I pushed a big heart on top of the iced cake.Then using a knife, I made a cut in the icing and cake perpendicular to the big heart, and pushed in a smaller heart in, creating an entwined hearts effect!

This was a super hit and super pretty cake, and I had so much fun trying these new techniques…a must try for sure!!

Pirate cake

Standard

I had been thinking since quite some time as to which cake to make for my twins’ 4th birthday… I was trying to think of lots of options in terms of which cartoons they like, and then remembered the lovely Jake and the Neverland Pirates theme! They love Jake, Izzy, Captain Hook, Scully, Cubby,Sharky and Bones. The twins wanted me to make all the characters for them. Initially, being very ambitious,  I had thought of making these figures myself, but in the end just ran out of time… so used small plastic toys.

The base of the cake is Coconut Pineapple cake, and the ship is made of Chocolate cake. Base is covered in Fresh Whipped Cream Icing, Ship (Chocolate cake) has been filled and covered with Chocolate Ganache.

20130707_134506

I baked a chocolate cake, and then shaped it into a ship, cutting, carving, attaching where required. I filled this cake with thin chocolate ganache. I used a paper template to shape the basic cake, and then added on stairs etc. Finally I covered it all with thick Chocolate Ganache. You will find recipes for both types of Ganache in my post about Chocolate Ganache, the link is at the top.

20130705_224744

20130705_231627

To give a wooden look, I used Chocolate fondant cut into small strips. Then I ran a blunt knife over the fondant pieces to create a wooden effect.

20130706_000941

For the railing, I rolled fondant into a long roll and cut small pieces out of it. The pieces should be of the same length. Then I attached cocktail sticks to each railing piece and left them to dry some 3-4 days before putting them to use. Once dry, I just kept on sticking the railing pieces on the ship, then rolled a long fondant roll to put on top of the railings. The drums, Scully, mast, small white lifebuoys are all made of fondant. I painted the mast with blue stripes, and left it on a rolled kitchen towel to dry in a curved shape.

20130706_020814

20130707_134550 20130707_134559

On the base cake, I used light brown sugar to make sand. Palm trees, rocks, treasure chest and gold doubloons are made of fondant. The greenery is just whipped fresh cream frosting coloured green. To create the wavy effect on the water, I used blue tinted piping gel. Spread some blue piping gel over the whipped cream icing, then use a small spatula to create waves.

20130707_134506 - Copy

The wooden plank look was created by taking a rectangular white fondant, cutting it and scribing it with a blunt knife. Then finally painting over with brown paste colour diluted in very little vodka/lemon juice. Then it had to be left to dry for a week, so that it was set properly.

20130707_134617

Coconut Pineapple Cake

Standard

I was talking to one of my colleagues at work, and she was telling me about the flavour of the cake on her wedding. She was the one who introduced me to Coconut Pineapple cake flavour, and then the research began…. For a perfect eggless coconut pineapple cake, with perfect fresh cream coconut icing. This recipe is the result of about 2 or 3 different experiments, which were done on my extremely eager and zealous guinea pigs :-p

This is a fabulous recipe, and I used it to make the base cake for the Pirate cake for my twins’ 4th birthday cake. I also used the same recipe to make cupcakes and they came out amazing as well. The only difference in the cupcakes was that I used cream cheese icing instead of fresh cream icing…still great!

In the picture of the Pirate cake below, the base cake, (where you can see the white sides) is the coconut pineapple cake. The boat is a chocolate cake covered in two types of ganache, which I will cover in my post about Chocolate Ganache frosting. There are lots of elements to this Pirate cake, which I have covered in another post about this cake.

20130707_134516

20130717_190204

Makes a 7 inch cake

For the cake:

Ingredients:

Plain Flour – 1 1/3 cups

Baking Soda- 3/4 teaspoon

Baking powder – 1 1/2 teaspoons

Condensed Milk – 1/2 tin (See notes)

Pineapple juice from pineapple tin – 200 – 250 gms (see notes)

Finely desiccated coconut – 3/4 cup

Pineapple pieces (round pieces) from tin – 5 (See notes)

Vanilla essence – 1 teaspoon

Butter, softened – 4 tablespoons

For the Fresh Cream Icing:

Double Cream – 170 ml

Icing sugar – 2 tablespoons

Mascarpone cheese – 3 heaped tablespoons

Finely dessicated coconut – 2 heaped tablespoons

Pineapple pieces (round pieces) from tin, chopped – 2

Vanilla essence – 1 teaspoon

Method:

For the cake:

Preheat oven at 180 degrees C.

Sift together the Plain flour, baking soda and baking powder. Add the dessicated coconut, and mix well.

At least 2-3 hours before starting to make the cake, open the pineapple tin and run the pineapple and juice through a sieve to drain the juice. Don’t throw away the pineapple juice, as you are going to use this in the cake. Let the pieces dry a little bit as 2 of these will be sandwiched between the layers of the cake, and will make the cake soggy if they are wet.

Make sure all liquid ingredients are at room temperature, and the butter is soft but not liquid. In a food processor or blender, blend together 3 pineapple pieces along with the pineapple juice, so that you get pineapple pulp.

In a separate bowl, mix together the condensed milk, vanilla essence and softened butter. Mix till well blended. Finally add the pineapple pulp and mix well again.

Make a well in the centre of the dry ingredients and pour in all the well blended wet ingredients. Mix well with hand, but don’t overbeat. Do not use a hand blender at all, since this will ruin the batter.

Once the batter is ready, put it in a well greased 7 inch pan and bake at 200 degrees C for 10 minutes, and at 150 degrees C for further 10 minutes. Alternatively, you can bake at 180 degrees C for about 18 minutes. Bake till a toothpick inserted in the centre of the cake comes out clean.

Take the cake out of the oven and let it stand for 10 minutes. Then invert it on a wire rack and leave to cool further.

For the Fresh Cream Icing:

Keep the whisk and bowl in the fridge at least an hour before beating the cream.

Whisk the double cream and icing sugar in a food processor/hand held whisk till stiff peaks form.

In a separate bowl, beat the mascarpone cheese till softened. We are using the icing sugar and mascarpone cheese to stabilise the cream so that it doesn’t melt at room temperature and it stays for longer.

Fold (don’t beat!!) in the beaten cream and dessicated coconut into the mascarpone cheese.

Once the cake is cooled down, cut it horizontally into 2 pieces. Spread the frosting on the top of the bottom piece. Spread the 2 dried, chopped pineapple pieces on top of the cream. Put the top layer of the cake on top of the bottom layer. Spread the remaining frosting on the top and sides of the cake and enjoy!!

Notes:

  1. I have used a 397 gm tin condensed milk can. Even if you have slightly bigger or smaller, it won’t make a lot of difference.
  2. The pineapple tin should have pineapple in own juice, not syrup. If you can’t find such a tin, then discard the syrup and only use the pineapples. For the pineapple juice, use good quality Pineapple juice from a bottle/carton.
  3. The pineapple pieces should be dry as some of them will be used as a filling between cake layers and wet pineapple will make the cake soggy. Drain the juice in a bowl, and set the pieces aside to dry 2-3 hours before starting to bake.

Orange Chiffon Cake

Standard

I was looking at a website recently, and came across this gorgeous Chiffon cake that someone had made. They had iced it with fresh cream, and decorated with oranges. It was a very beautiful creation, and looked soooo refreshing! Then my interest was piqued as to what exactly a chiffon cake is. And whatever questions we have are always answered by the saviour ‘google’ !!! So basically, as per Wikipedia, a Chiffon cake is an extremely light and fluffy cake made with egg whites, egg yolks, flour, vegetable oil and baking powder. Since this cake uses oil instead of butter, its very hard to beat air into oil. So it is absolutely important to beat the egg whites to a stiff consistency to achieve a foamy and fluffy texture. Then the egg whites are folded into the batter.

The high oil and egg content creates a very moist cake, and as oil is liquid even at cooler temperatures, chiffon cakes do not tend to harden or dry out as traditional butter cakes might. This makes them better-suited than many cakes to filling or frosting with ingredients that need to be refrigerated or frozen. Chiffon cakes also tend to be lower in saturated fat than butter cakes and I guess we can say they are healthier than butter cakes. Because there is no butter, therefore chiffon cakes need to have some sort of flavour added like chocolate, fruits, raisins etc.

Also, it is very important to bake the the batter in an ungreased tube pan (pan with a tube in the centre which creates a ring cake) which allows the batter to cling to the sides of the pan as it bakes. The tube in the center of the pan lets the hot air circulate so the heat can reach the center of the cake. The cake needs to be turned upside down immediately upon removing it from the oven as this keeps the cake from shrinking and losing its volume.

20130726_221000

Makes a 10 inch cake. Use a 10 inch tube pan.

Ingredients:

Cake flour – 2 1/4 cups (see notes)

Caster Sugar – 1 1/2 cups

Baking Powder – 1 tablespoon

Salt – 1/4 teaspoon

Finely grated orange zest – 2- 2 1/2 tablespoons (see notes)

Eggs – 7 egg whites and 6 egg yolks (See notes)

Vegetable oil – 1/2 cup (See notes)

Freshly squeezed orange juice – 3/4 cup (see notes)

Vanilla essence – 1 teaspoon

Method:

Keep the eggs in fridge for some time before using and then separate the eggs when they are still cold. Put the whites in one bowl (7 whites) and yolks in another bowl (6 yolks). Then cover both bowls and leave them to reach room temperature.

Preheat oven at 170 degree celsius.

In a large bowl, mix together the cake flour, caster sugar (reserve 1/4 cup to put in egg whites), baking powder, salt and orange zest. Mix till well combined. Make a well in the centre of the flour mixture. Pour in the egg yolks, vegetable oil, orange juice and vanilla essence. Mix well till smooth and well combined.

20130726_191313

In a food processor, or with a hand blender, whisk the egg whites. Whisk till egg whites are foamy and soft peaks form. Then slowly add the 1/4 cup reserved caster sugar. Keep whisking the egg whites till stiff peak forms. This might take a while, it took around 8 minutes for me.

20130726_191628

Using a rubber spatula, gradually fold in the beaten egg whites (in three additions) into the flour mixture. Make sure you are folding the beaten eggs in, not mixing them in. This will ensure they are not deflated.

20130726_191813

Pour the now ready batter in an ungreased tube pan. Bake at 170 degrees C for about 45 minutes. One thing to note is that my oven bakes faster than many ovens, so you might want to give it another 10 minutes to begin with. The cake will be done when its springy to touch and a toothpick inserted in the centre of the cake comes out clean.

20130726_192221

Meanwhile, get a plastic bottle with a thin neck which can fit inside the tube of the pan. Fill it up with water so that its heavy. When the cake is baked fully, immediately (using oven gloves, we don’t want burnt hands!) turn the cake upside down and put it on top of the plastic bottle. I had to use kitchen boxes, plates etc to bring some support on the sides of the overturned cake so that it didn’t fall off the bottle.

20130726_215056

Let the cake cool down completely (about 1 – 1 1/2 hours), then take it off the bottle. Using a knife or metal spatula, slowly edge the cake out of the sides of the pan and from around the inside tube.  It will have stuck to the sides of the pan as it was an ungreased pan, and will take some maneuvering to take out. Be patient, you don’t want to break the cake at this point. After some manipulation and some coaxing, the cake will come out, and happy days (hours is more like it, considering the cake is soooo tasty!!!) will begin!

You can whip up some fresh cream and ice the cake, or you can just dust it with some icing sugar, and decorate with orange rind, pieces etc. Lush! Awesome flavours and a melt in your mouth cake is ready!

20130726_220058

Notes:

  1. Cake Flour – To make 2 1/4 cups cake flour : Sift together 1 1/2 cups + 3 tablespoons of plain flour with 5 tablespoons cornflour. Sift them at least 5-6 times.
  2. Orange Zest – Use a very small grater to grate the orange rind. Make sure that the oranges are thoroughly washed before grating.
  3. Eggs – Bringing the eggs to room temperature before beating them will help them to reach full volume.
  4. Vegetable oil – You can use any  any flavorless oil like vegetable, canola, safflower, corn or even a sunflower oil.
  5. Orange Juice – Run the juice through a mesh so that there are no seeds, pulp etc. We want a smooth juice.