I like to think up of some new cake flavours every time I have to bake for someone. So this time when I wanted to make an anniversary cake for my sister in law, I went trolling for ideas. My sister in law had loved the Coconut Pineapple cake I had made earlier, so I thought of tweaking the idea a bit. I like strawberries, and I like coconut, so thought how about a coconut strawberry cake! The cake turned out really good, better than I expected.
In this cake, I also wanted to experiment with chocolate collar and chocolate hearts. The theme was anniversary, so I thought of embedding pink hearts in the cake collar. The cake was gorgeous, and tasted fab as well! The icing was all fresh cream, so lushhhh!!

Makes an 8 inch cake
How to make the cake:
Ingredients:
For the cake:
Self raising flour, sifted – 250 gms
Caster sugar – 200 gms
Butter – 200 gms
Medium eggs – 4
Coconut milk – 250 gms
Dessicated coconut (unsweetened) – 1 1/2 cups
Strawberry flavouring – 2-3 teaspoons
Strawberries, chopped – 3
For icing:
Strawberry Jam – 2 tablespoons
Fresh double cream – 700 gms
Strawberries, chopped – 4
Icing Sugar – 2 tablespoons
Mascarpone cheese (optional) – 2 tablespoons (I use this to make the icing more stable, but can be skipped if the cake is going to be consumed immediately.)
Method:
- Preheat oven to 180 degrees C and grease and dust two 8 inch cake pans. Keep aside.
- Put together the coconut milk and dessicated coconut in a pan and bring almost to a boil, stirring well all the time. Mix well together, remove from heat and set aside to cool completely. Do not add to the batter if still hot, this can cause the eggs to start cooking.
- Cream together the butter and sugar till light and fluffy. Add one egg at a time, mixing well after each addition.
- Add about a tablespoon of the flour to this mixture to avoid curdling, but even if the mixture curdles, don’t worry too much, it will be fine.
- Take the sifted flour in a big bowl and fold in the coconut mixture and beaten eggs, butter and sugar mixture till well incorporated.
- Add the chopped strawberries and strawberry essence. Fold to incorporate, making sure the whole batter doesn’t deflate.
- Pour the batter in the prepared cake tins, and bake at 180 degrees C for 25-30 minutes or until a toothpick inserted in the middle of the cake comes out clean.
- Take the cakes out of the oven and leave to cool down for 10 minutes. Then invert on wire racks to cool completely.
- For the icing, beat the fresh cream with the sugar in a chilled bowl till stiff peaks form. The bowl and beaters should be in the fridge for at least 30 minutes for the cream to beat best. Keep an eye out on the cream as it very quickly turns to butter after stiff peaks are formed.
- In a separate bowl, take the cream cheese and just mix it with a spoon to soften it. Fold in the beaten cream to it.

- To ice the cake, take one of the 2 sponges and spread the jam on it like in the picture here:

- Spread some of the whipped cream icing on top of the jam, then put the chopped strawberries on top of the cream.
- Cover with the second sponge, and finally cover the whole cake with the remaining whipped cream icing.
- Put in the fridge to set while you make the chocolate collar. If you are not making the collar, then the cake is ready to be served now. You can decorate the top with roasted dessicated coconut (which I colored pink for this occasion), and chopped strawberries. I made strawberry roses which you can learn how to do from any of the youtube videos, the way I did!


How to make the Chocolate Collar:
I followed few videos on youtube to learn how to make a chocolate collar. The ones I followed are http://www.youtube.com/watch?v=L-RM7JyToew and http://www.youtube.com/watch?v=s0F1bF0xJhY . However, there are so many videos on youtube to watch and learn, so go for it!
Basically, you need to take measurements of your iced cake’s height and circumference, then cut a baking paper strip of the same measurements. I had to embed hearts in the collar, and make a swirly design on top, so here is my template:

You need to melt the chocolate, put it in a piping bag with a very tiny hole and pipe the hearts. Make sure it is melted, and not tempered. This means you need to melt it all the way through without any chocolate bits remaining. Make sure you don’t burn it as chocolate is easy to burn. So, I made the hearts with white chocolate coloured pink, and put it in the fridge to harden completely. Then you need to melt (not temper) milk chocolate. Put it in a piping bag to pour over the collar. Use a spoon or spatula to spread it across the collar. First you need to make the swirly designs, as they need to be set before the collar can be prepared. The collar has to be only semi set otherwise it will break when you wrap it around the cake, but the swirly design needs to be set to hold its shape.
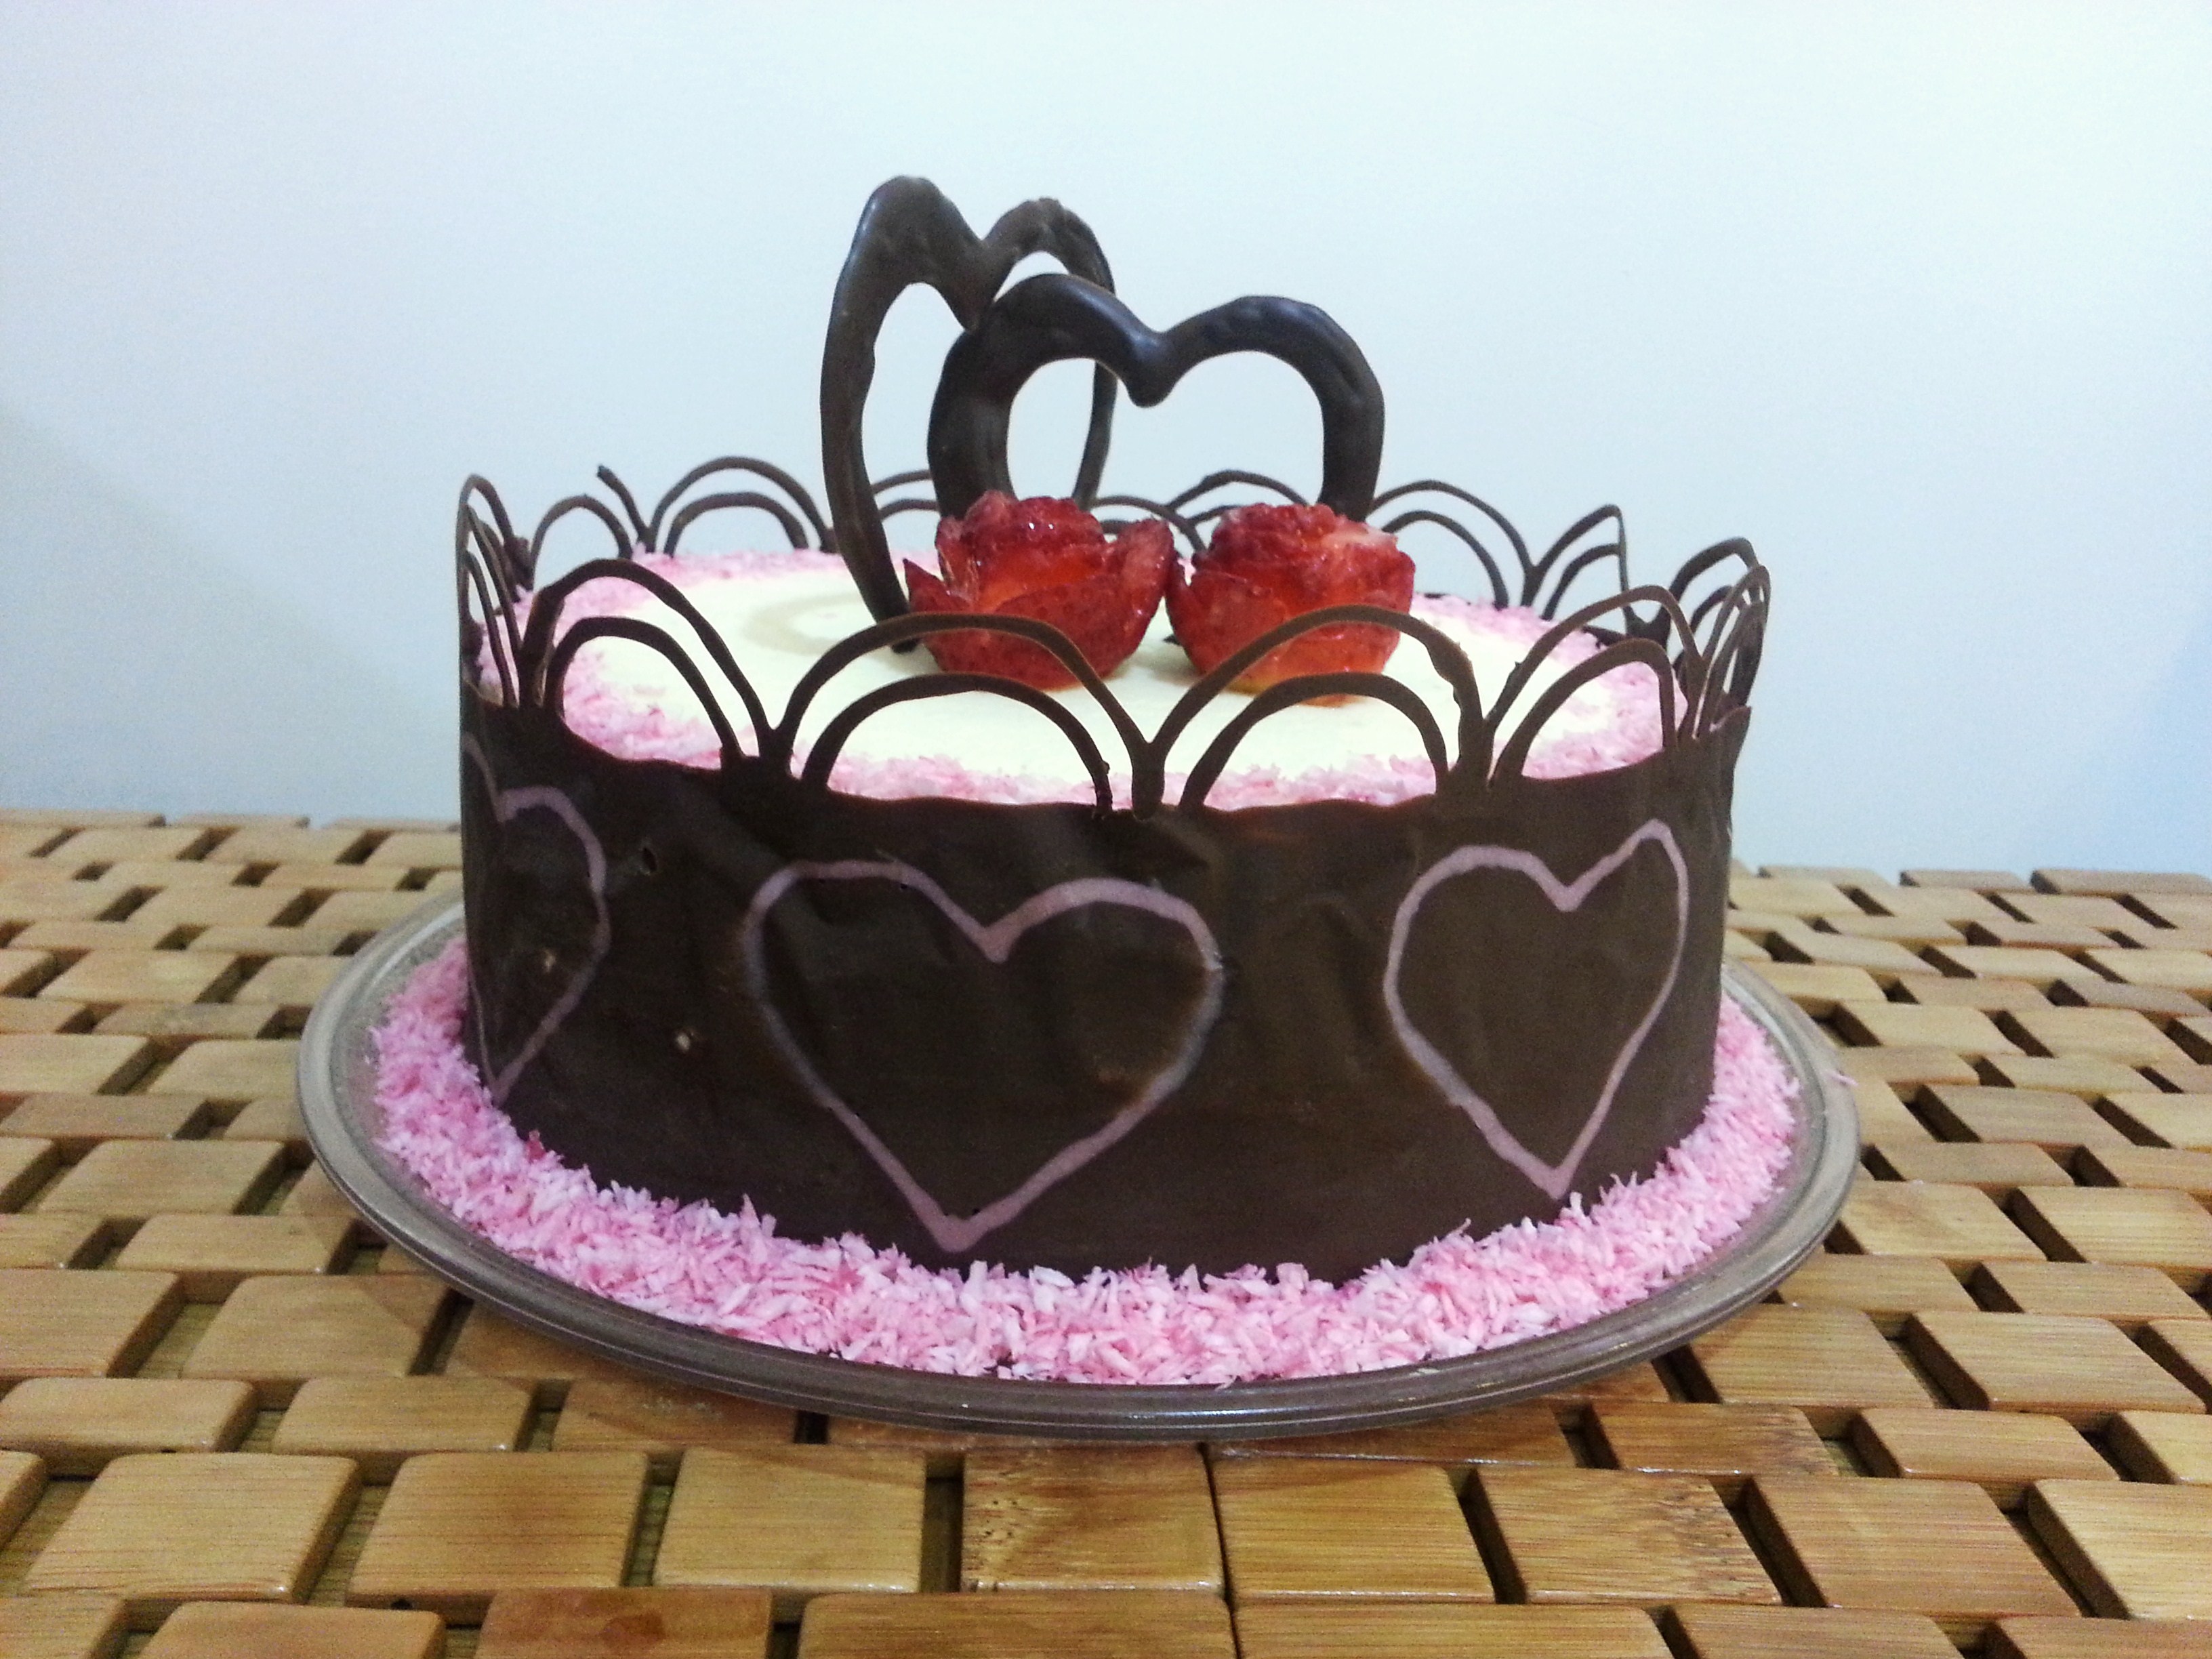
After preparing the collar, I wrapped it around the cake and put it in the fridge to set. It took exactly 2 seconds to set…like magic 🙂 . This is the outcome:

How to make the Chocolate Hearts:

These hearts can be pre made as they will take some time to set. Once set they will peel off easily off the baking paper.
You need to make heart templates on baking paper and fill them in using tempered chocolate. To temper chocolate, break some milk chocolate in equal sized pieces and put in a bowl. Put it in the microwave and run it for about 20 seconds at a time, till you reach a point when you have most of the chocolate melted with about 1-2 pieces remaining. Stir vigorously till all the chocolate is melted.
I made a template like this and made lots of hearts of different styles just in case they broke. They need to be handled carefully, and touched as little as possible. They are delicate, but not meltaway brittle. Just make sure if you are making designs inside the hearts, all the designs are linked and touch some other design, otherwise it will fall apart.

Finally, to arrange, I pushed a big heart on top of the iced cake.Then using a knife, I made a cut in the icing and cake perpendicular to the big heart, and pushed in a smaller heart in, creating an entwined hearts effect!
This was a super hit and super pretty cake, and I had so much fun trying these new techniques…a must try for sure!!


